
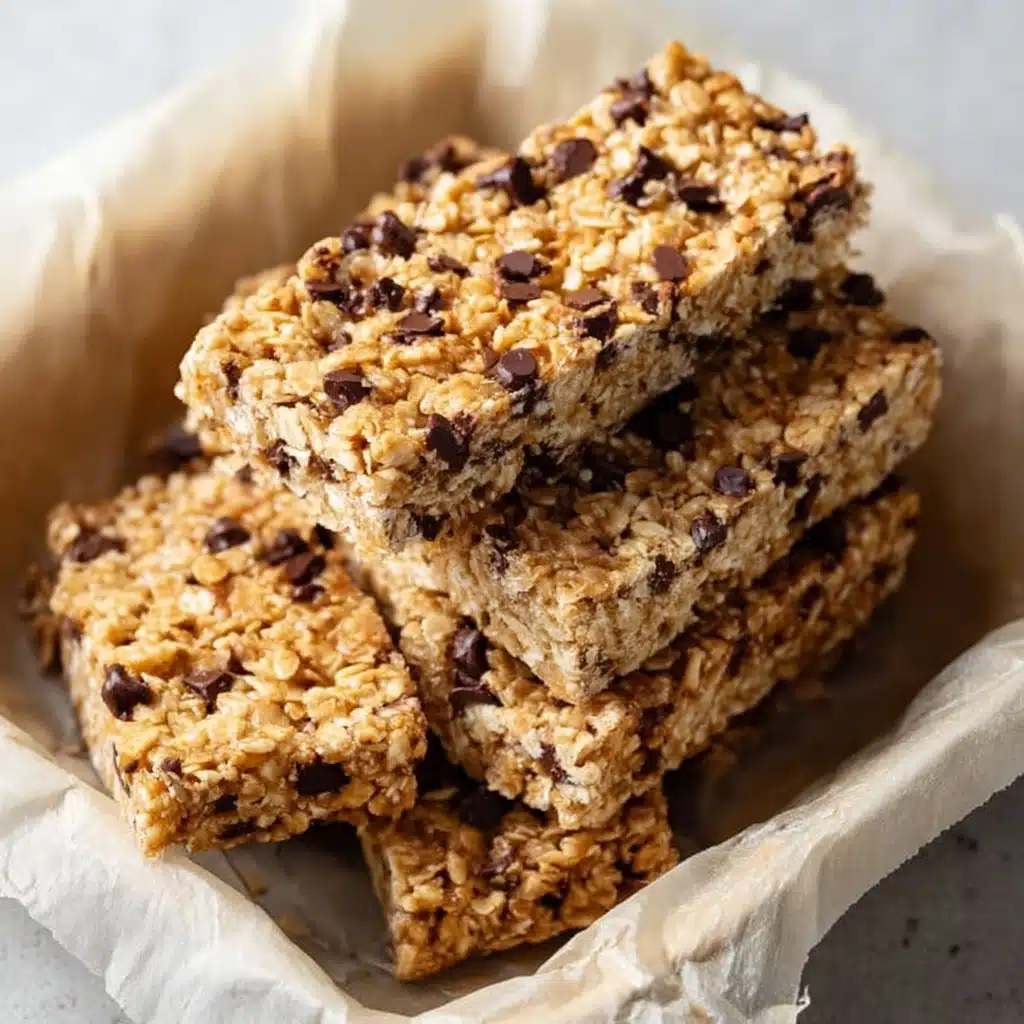
Easy Homemade Granola Bars for Camping Snacks
If you’re on the lookout for a snack that’s perfect for busy days, hiking trips, or just a wholesome pick-me-up, these u can make ahead!)-Homemade Granola Bars are an absolute game-changer. They strike the perfect balance of chewy oats, crisp rice cereal, and a touch of melty chocolate, all held together by a gorgeous honey and brown sugar glaze. Plus, they’re incredibly easy to whip up in one go and keep handy whenever hunger strikes. Trust me, once you try these bars, you’ll wonder how you ever survived without them in your snack stash!
Ingredients You’ll Need
The beauty of these granola bars is in their simplicity. Each ingredient plays a special role, from creating texture and sweetness to adding that luscious, melt-in-your-mouth quality.
- 2 cups quick-cooking oats: The heart of the granola bars, giving a soft chewiness without the wait of rolled oats.
- 1 cup crispy rice cereal: Adds an irresistible crunch that contrasts perfectly with the oats.
- 1/3 cup packed light brown sugar: Brings a deep, caramel flavor that sweetens without overpowering.
- ¼ cup honey: Natural sweetness and a sticky binder to hold everything together deliciously.
- 4 tbsp unsalted butter: Enhances flavor and gives a rich, smooth texture to the bars.
- 1 tsp vanilla extract: Elevates the taste with a warm, aromatic hint.
- 3 tbsp mini chocolate chips: Little bursts of chocolatey delight throughout each bite.
How to Make Easy Homemade Granola Bars for Camping Snacks
Step 1: Prepare Your Pan
Start by lightly coating an 8-inch square baking pan with nonstick cooking spray. Then line it with parchment paper so your bars lift out easily once set. This step might seem small, but it makes all the difference when it’s time to slice and serve.
Step 2: Combine the Dry Ingredients
In a large bowl, stir together your quick-cooking oats and crispy rice cereal. Mixing these dry ingredients upfront ensures every bite of your granola bars will have that perfect blend of chewy and crunchy textures.
Step 3: Make the Sweet Binder
In a small saucepan, bring the light brown sugar, honey, and butter to a gentle boil over medium-high heat. Once bubbling, reduce the heat to medium-low and let it simmer just long enough for the sugar to dissolve—about 2 minutes. Then remove it from the heat and stir in the vanilla extract. This glossy, flavorful syrup is what brings the whole bar together beautifully.
Step 4: Mix Everything Together
Pour your hot, melted mixture over the oat and cereal blend. Stir everything thoroughly so that each oat and crisp piece gets luxuriously coated. This ensures your granola bars will hold their shape and taste amazingly cohesive.
Step 5: Press and Add Chocolate
Dump the mixture into your prepared pan and press down firmly—really pack it in there to create bars that stay intact. Sprinkle the mini chocolate chips evenly on top and gently press them in with the back of a spoon. This final touch gives you those little chocolate surprises hidden in every bite.
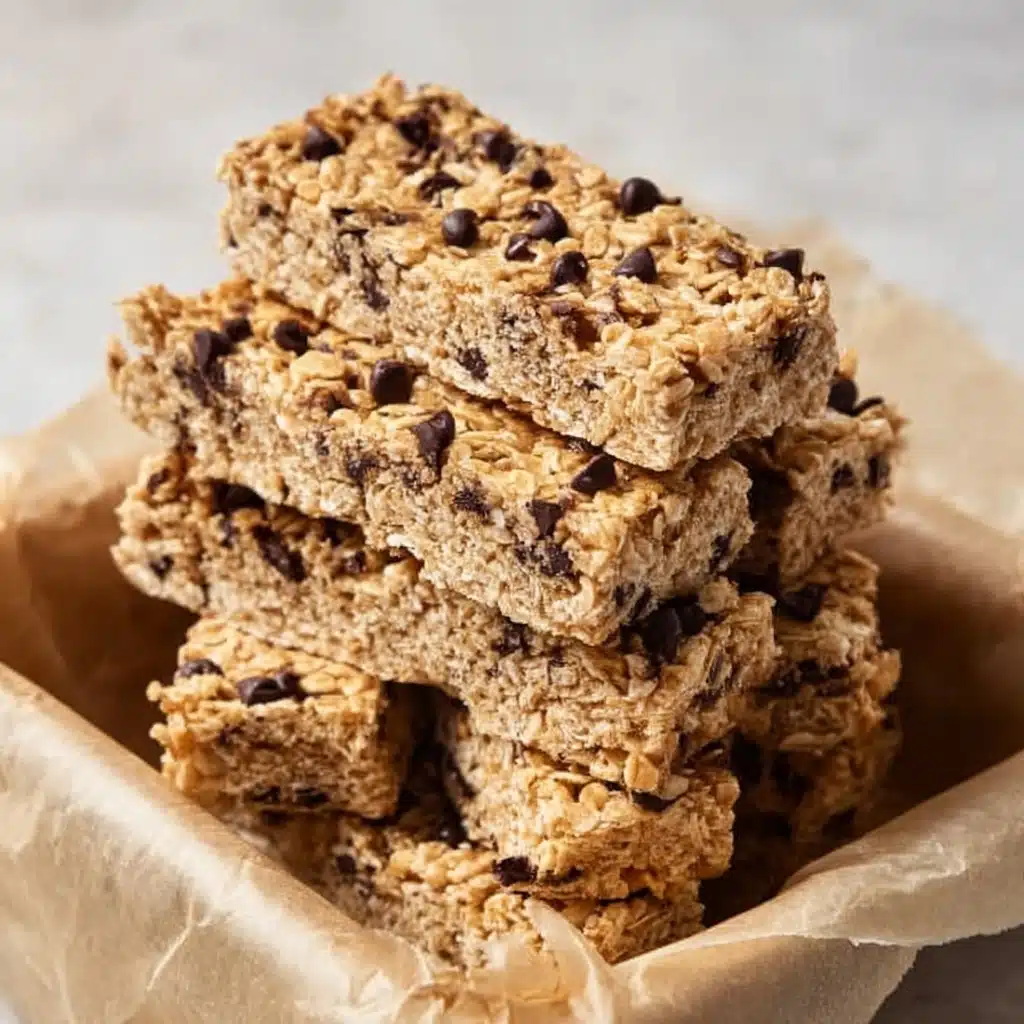
Step 6: Let Cool and Slice
Allow your granola bars to cool at room temperature for a couple of hours until they’ve fully set. Once they feel firm to the touch, slice them into bars or squares that suit your snack preferences. Now you have a batch of u can make ahead!)-Homemade Granola Bars ready to fuel your day.
How to Serve Easy Homemade Granola Bars for Camping Snacks
Garnishes
While these bars are delicious on their own, you can dress them up with a light drizzle of melted nut butter or a sprinkle of sea salt flakes for a salty-sweet kick. Fresh berries served alongside add a juicy freshness that brightens each bite beautifully.
Side Dishes
Pair your granola bars with a hot cup of tea or coffee for a satisfying morning snack or afternoon treat. They also go wonderfully with yogurt or fresh fruit salad if you want to create a more indulgent spread.
Creative Ways to Present
Looking to impress friends or pack these bars for an outing? Wrap individual bars in parchment paper tied with twine for a rustic, charming look. Or stack them in a mason jar layered with nuts and dried fruits to create a thoughtful, portable snack gift.
Make Ahead and Storage
Storing Leftovers
These granola bars keep well in an airtight container at room temperature for up to a week. Make sure they’re completely cooled before storing to prevent any unwanted moisture that could make them soggy.
Freezing
If you want to keep your supply fresh for longer, these bars freeze beautifully. Wrap each bar tightly in plastic wrap and place them in a freezer-safe bag or container. When you’re ready to enjoy, just thaw at room temperature—no rush!
Reheating
While these bars don’t require reheating, a quick zap in the microwave for 10-15 seconds can soften them and melt the chocolate chips slightly, making them even more luscious. Just be careful not to overheat, or they’ll get too soft to hold their shape.
FAQs
Can I use rolled oats instead of quick-cooking oats?
While rolled oats are healthier and chewier, quick-cooking oats help the bars stick together better and create a softer texture. If you only have rolled oats, try pulsing them a bit in a food processor to get a quicker cooking effect.
Are these granola bars gluten-free?
They can be, as long as you use gluten-free certified oats and rice cereal. Always check your packaging to ensure they’re processed in gluten-free facilities if that’s a concern.
Can I substitute honey with maple syrup?
Absolutely! Maple syrup works well as a vegan alternative and imparts a lovely flavor, though it might make the bars slightly less sticky, so press them down firmly.
How long will u can make ahead!)-Homemade Granola Bars last?
When stored properly in an airtight container, these bars should stay fresh for about a week at room temperature and up to three months in the freezer.
Can I add nuts or dried fruits?
Definitely! Chopped almonds, walnuts, or dried cranberries make fantastic additions. Just mix them in with the oats and cereal during Step 2 for extra texture and flavor.
Final Thoughts
There’s truly nothing like having a stash of u can make ahead!)-Homemade Granola Bars ready to grab whenever hunger calls. They’re wholesome, delicious, and packed with love and flavor. So next time you crave something sweet yet nourishing, give these bars a try—you’ll be so glad you did!
PrintEasy Homemade Granola Bars for Camping Snacks

These easy homemade granola bars are perfect premade camping snacks that you can prepare ahead of time. Made with quick-cooking oats, crispy rice cereal, brown sugar, honey, butter, and mini chocolate chips, they combine a delightful crunch with a touch of sweetness. Ideal for on-the-go energy boosts during your outdoor adventures or as a convenient snack at home.
- Prep Time: 10 minutes
- Cook Time: 5 minutes
- Total Time: 2 hours 15 minutes
- Yield: 12 bars 1x
- Category: Snack
- Method: No-bake
- Cuisine: American
- Diet: Vegetarian
Ingredients
Dry Ingredients
- 2 cups quick-cooking oats (not rolled or steel cut)
- 1 cup crispy rice cereal
- 1/3 cup packed light brown sugar
Wet Ingredients
- ¼ cup honey
- 4 tbsp unsalted butter
- 1 tsp vanilla extract
Additional
- 3 tbsp mini chocolate chips
- Nonstick cooking spray (for pan coating)
- Parchment paper (for lining pan)
Instructions
- Coat the pan: Lightly coat an 8-inch square baking pan with nonstick cooking spray, then line it with parchment paper to prevent sticking. Set aside.
- Mix dry ingredients: In a large bowl, stir together the quick-cooking oats and crispy rice cereal until evenly combined. Set this mixture aside.
- Boil wet mixture: In a small saucepan over medium-high heat, bring the packed light brown sugar, honey, and unsalted butter to a boil. Reduce the heat to medium-low and simmer gently for about 2 minutes until the sugar dissolves completely.
- Add vanilla: Remove the saucepan from the heat and stir in the vanilla extract thoroughly to infuse flavor.
- Combine mixtures: Pour the melted wet mixture over the dry oat and cereal ingredients. Stir well to ensure every bit is moistened and well-coated with the sweet syrup.
- Press mixture into pan: Transfer the combined mixture to the prepared baking pan and press it down firmly with the back of a spoon or your hands. Compacting the mixture tightly helps the bars hold their shape once set.
- Add chocolate chips: Evenly sprinkle the mini chocolate chips over the top of the pressed mixture. Lightly press them into the surface so they stick well and don’t fall off when slicing.
- Cool and slice: Let the mixture cool at room temperature for a couple of hours until fully set and firm. Once cooled, lift the parchment paper out of the pan and slice into individual bars for serving or storage.
Notes
- Use quick-cooking oats as specified for the best texture; rolled oats or steel-cut oats will change the consistency.
- Press the mixture firmly in the pan to ensure the bars hold together and don’t crumble.
- Store the granola bars in an airtight container at room temperature for up to one week, or refrigerate for longer freshness.
- For a nutty addition, consider adding chopped nuts such as almonds or walnuts.
- To make these bars vegan, substitute butter with coconut oil and ensure the chocolate chips are dairy-free.
Nutrition
- Serving Size: 1 bar (approx. 40g)
- Calories: 150 kcal
- Sugar: 10 g
- Sodium: 40 mg
- Fat: 6 g
- Saturated Fat: 3.5 g
- Unsaturated Fat: 2.5 g
- Trans Fat: 0 g
- Carbohydrates: 22 g
- Fiber: 2 g
- Protein: 2 g
- Cholesterol: 10 mg
Keywords: homemade granola bars, camping snacks, easy snacks, no-bake granola bars, quick granola bars, chocolate chip granola bars

