
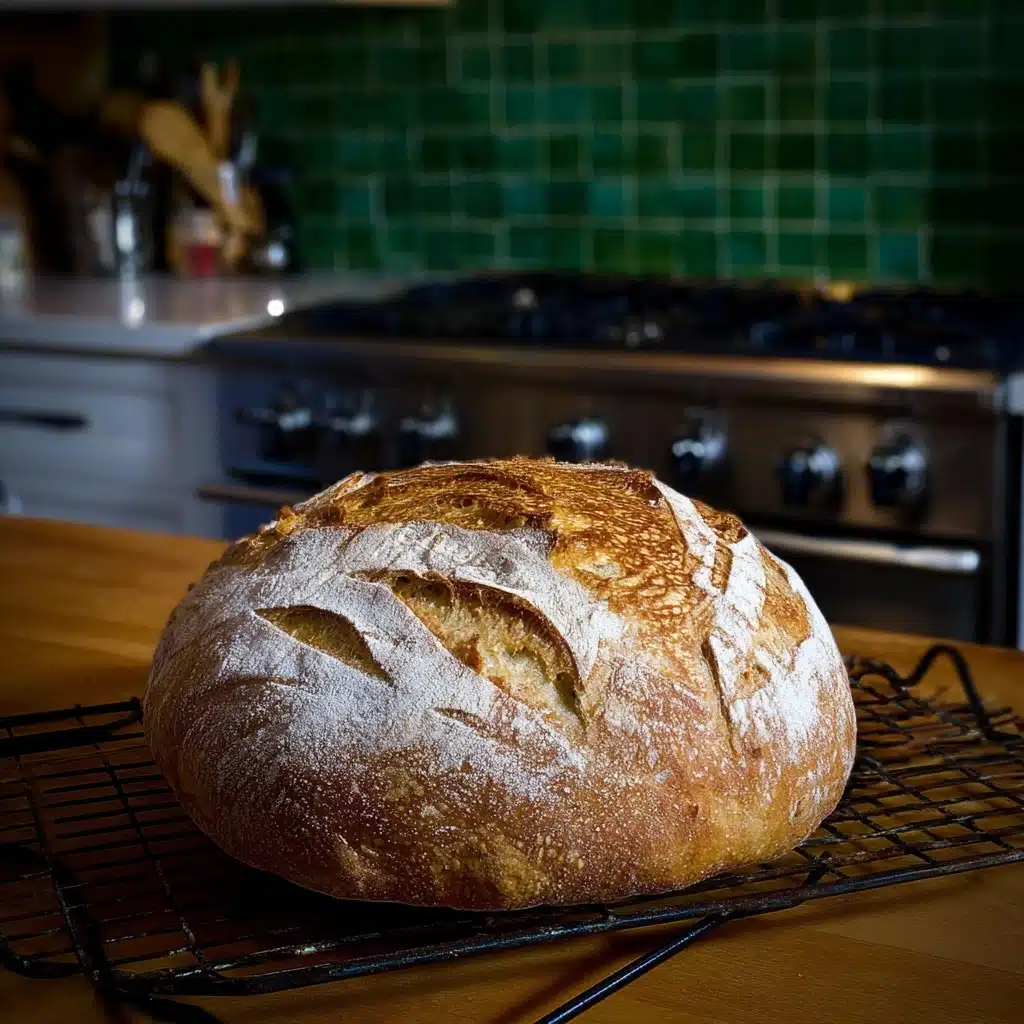
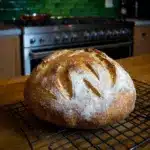
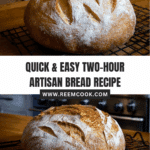
Two Hour Artisan Bread Recipe
The irresistible aroma of crusty, golden loaves baking at home is nothing short of magical, and that’s exactly what you get with this Two Hour Artisan Bread. Ready in a fraction of the time it takes to make traditional sourdough, this recipe brings you bakery-quality bread with a crisp crust and tender crumb, all from just a handful of simple ingredients. Whether you’re a seasoned home baker or dipping your toes into the world of bread making for the first time, this method delivers impressive results — and will quickly become your go-to loaf for any occasion.

Ingredients You’ll Need
Every ingredient in this Two Hour Artisan Bread plays a key role, working together to create a loaf that’s both gorgeous and wildly flavorful. There are no complicated add-ins or fussy techniques here — just pure, honest ingredients that transform in the oven.
- All purpose flour: The foundation of your loaf, giving your bread its soft crumb and chewy texture.
- Warm water: Activates the yeast and hydrates the flour, creating the dough’s structure and ensuring a tender bite.
- Instant yeast: This little powerhouse jumpstarts the rise, speeding up proofing and providing lots of lovely bubbles in a short time.
- Sugar: A small amount to feed the yeast, slightly enhancing browning and flavor without making the bread sweet.
- Salt: Essential for flavor, it also helps regulate the yeast and strengthens the dough.
How to Make Two Hour Artisan Bread
Step 1: Preheat Your Pot and Oven
Start by placing a medium oven-proof pot (such as a Dutch oven) with its lid on the center rack of your oven. Preheat to 450°F, giving your pot a full hour to soak up heat. This blazing-hot environment is the secret behind the crisp, rustic crust that makes Two Hour Artisan Bread so special.
Step 2: Activate the Yeast and Mix the Dough
In a large mixing bowl, combine the instant yeast, sugar, and warm water. Stir gently until dissolved. Next, add in the flour and salt. Mix everything together until a shaggy dough forms — don’t worry about perfection, the next step takes care of that!
Step 3: Knead for Structure
Knead the dough using the dough hook attachment of your stand mixer or use your hands if you enjoy the tactile experience. You’ll want to knead for about 8 to 10 minutes, until the dough becomes smoother and elastic. This builds gluten, setting you up for that signature chewy texture.
Step 4: First Proof
Cover the bowl loosely and let the dough rest at room temperature for about 30 minutes. During this time, the yeast starts its magic — you’ll see the dough puff up and become even lighter.
Step 5: Shape the Dough
Dust your countertop with a bit of flour and turn the dough out onto it. Stretch and fold it several times, tightening it into a smooth, round ball. This step should only take about two minutes but dramatically improves the loaf’s final rise and shape. Transfer the ball back into a bowl and cover.
Step 6: Second Proof
Let your dough rise once again for another 30 minutes at room temperature. This second proof gives your bread more lift and an even airier crumb—totally worth the extra wait.
Step 7: Final Shaping and Scoring
Gently turn the dough onto a floured surface. Dust the top with a bit more flour and smooth it out. Tighten the dough into a neat ball by rotating and tucking the sides underneath, then use a sharp knife or bread lame to score the top. These cuts control the oven spring and create those gorgeous artisan patterns.
Step 8: Bake in the Dutch Oven
Carefully transfer your dough into the piping-hot Dutch oven (you can use parchment paper if you like for easy lifting). Cover with the lid and return it to the middle rack. Baking in a sealed pot traps steam, creating that coveted crackly crust.
Step 9: Uncover and Brown
After 30 minutes, remove the lid to let your bread finish baking. The surface will deepen into a beautiful golden brown as it bakes for another 10 minutes or so. Remove from the oven and let it rest for at least 10 minutes before slicing in—if you can resist!
How to Serve Two Hour Artisan Bread
Garnishes
Two Hour Artisan Bread shines simply brushed with olive oil or smeared with softened butter and a pinch of flake salt. Fresh herbs, such as chopped rosemary or thyme, add color and aroma, while a sprinkle of grated parmesan introduces a touch of savory decadence.
Side Dishes
Pair your Two Hour Artisan Bread with hearty soups like creamy tomato basil or rustic potato leek, or slice it thick to accompany a generous cheeseboard. It’s also perfect alongside bright salads or as a base for open-faced sandwiches starring ripe tomatoes and mozzarella.
Creative Ways to Present
Make your bread a centerpiece by serving it warm in a lined basket, or slice it and arrange the pieces in a spiral on a wooden board. For gatherings, offer an array of dips, from herbed olive oil to whipped feta, letting guests tear off chunks and get creative.
Make Ahead and Storage
Storing Leftovers
Once your Two Hour Artisan Bread is fully cooled, wrap it loosely in a clean kitchen towel or store in a paper bag at room temperature. This keeps the crust crisp and the interior fresh for up to two days.
Freezing
To keep bread on hand at all times, slice your cooled Two Hour Artisan Bread and layer slices in a freezer-safe bag. It’ll stay delicious for up to 2 months—ready whenever you’re craving homemade bread.
Reheating
Bring slices or a whole loaf back to life by spritzing lightly with water and warming in a 350°F oven for 5-10 minutes. This revives the crust’s crackle and the crumb’s softness, making yesterday’s loaf taste just-baked.
FAQs
Can I use bread flour instead of all purpose flour?
Absolutely! Bread flour will give you an even chewier texture and a little extra structure in your Two Hour Artisan Bread. The method and measurements remain the same.
Do I need a Dutch oven?
A Dutch oven creates steam and mimics a professional baker’s oven, but if you don’t have one, use any heavy, oven-safe pot with a lid. In a pinch, an oven-safe dish tightly covered with foil can work too.
Can I add herbs, cheese, or other mix-ins?
Definitely! Fold in up to 1 cup of your favorite add-ins — like chopped herbs, grated cheese, or roasted garlic — when shaping the dough after the first rise. This keeps your Two Hour Artisan Bread feeling fresh every time.
Why is it important to rest the bread before slicing?
Letting the bread rest after baking allows the crumb to set and the steam to redistribute. Slicing too soon releases that trapped moisture, resulting in a gummy texture. Patience pays off!
How do I get a really crispy crust?
For the ultimate crisp, make sure your pot is preheated thoroughly and don’t rush the final 10 minutes of uncovered baking. You can even leave the loaf in the turned-off oven, door ajar, for a few extra minutes to intensify that satisfying crunch.
Final Thoughts
There’s something deeply rewarding about baking your own Two Hour Artisan Bread — it fills your kitchen with warmth and brings friends and family to the table. I hope this recipe becomes a staple in your home, bringing you joy, confidence, and countless moments of deliciousness. Give it a try; your inner baker will thank you!
PrintTwo Hour Artisan Bread Recipe
Learn how to make a delicious Two Hour Artisan Bread at home with this easy recipe. This bread has a crispy crust and a soft, chewy interior that will definitely impress your family and friends.
- Prep Time: 20 minutes
- Cook Time: 40 minutes
- Total Time: 2 hours
- Yield: 1 loaf 1x
- Category: Bread
- Method: Baking
- Cuisine: American
- Diet: Vegetarian
Ingredients
For the Bread:
- 400 g all-purpose flour (3 cups)
- 280 ml warm water (1 cup + 8 teaspoons)
- 7 g instant yeast (2 1/2 teaspoons)
- 10 g sugar (2 teaspoons)
- 4 g salt (3/4 teaspoon)
Instructions
- Preheat the Oven: Place a covered medium oven-proof pot in the middle rack of the oven. Preheat to 450°F for at least an hour.
- Mix Ingredients: In a large bowl, dissolve yeast and sugar in warm water. Add flour and salt, mix well.
- Knead the Dough: Knead for 8-10 minutes until smooth.
- Proof the Dough: Cover and let rise for 30 minutes.
- Shape the Dough: Roll, fold, and shape the dough into a ball. Let it rise for another 30 minutes.
- Prepare for Baking: Dust with flour, score the top, and place in a preheated dutch oven.
- Bake: Bake covered for 30 minutes, then uncovered for 10 minutes until browned.
- Rest and Serve: Let the bread cool for 10 minutes before slicing.
Nutrition
- Serving Size: 1 slice
- Calories: 150
- Sugar: 1g
- Sodium: 200mg
- Fat: 1g
- Saturated Fat: 0g
- Unsaturated Fat: 0.5g
- Trans Fat: 0g
- Carbohydrates: 30g
- Fiber: 2g
- Protein: 5g
- Cholesterol: 0mg
Keywords: artisan bread, homemade bread, quick bread recipe


