
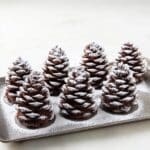
Quick + Easy Snowy Chocolate Pinecones Recipe
Introduction
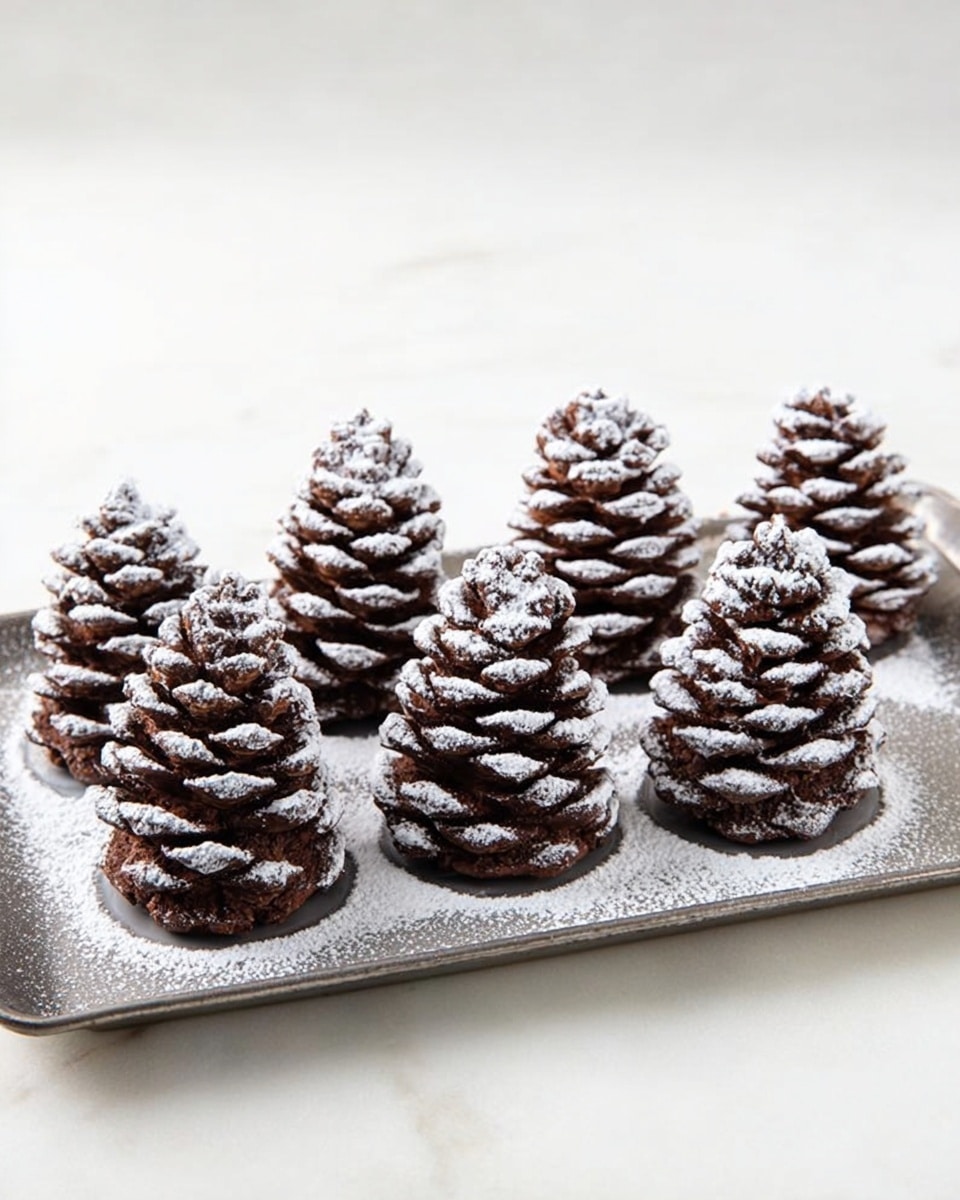
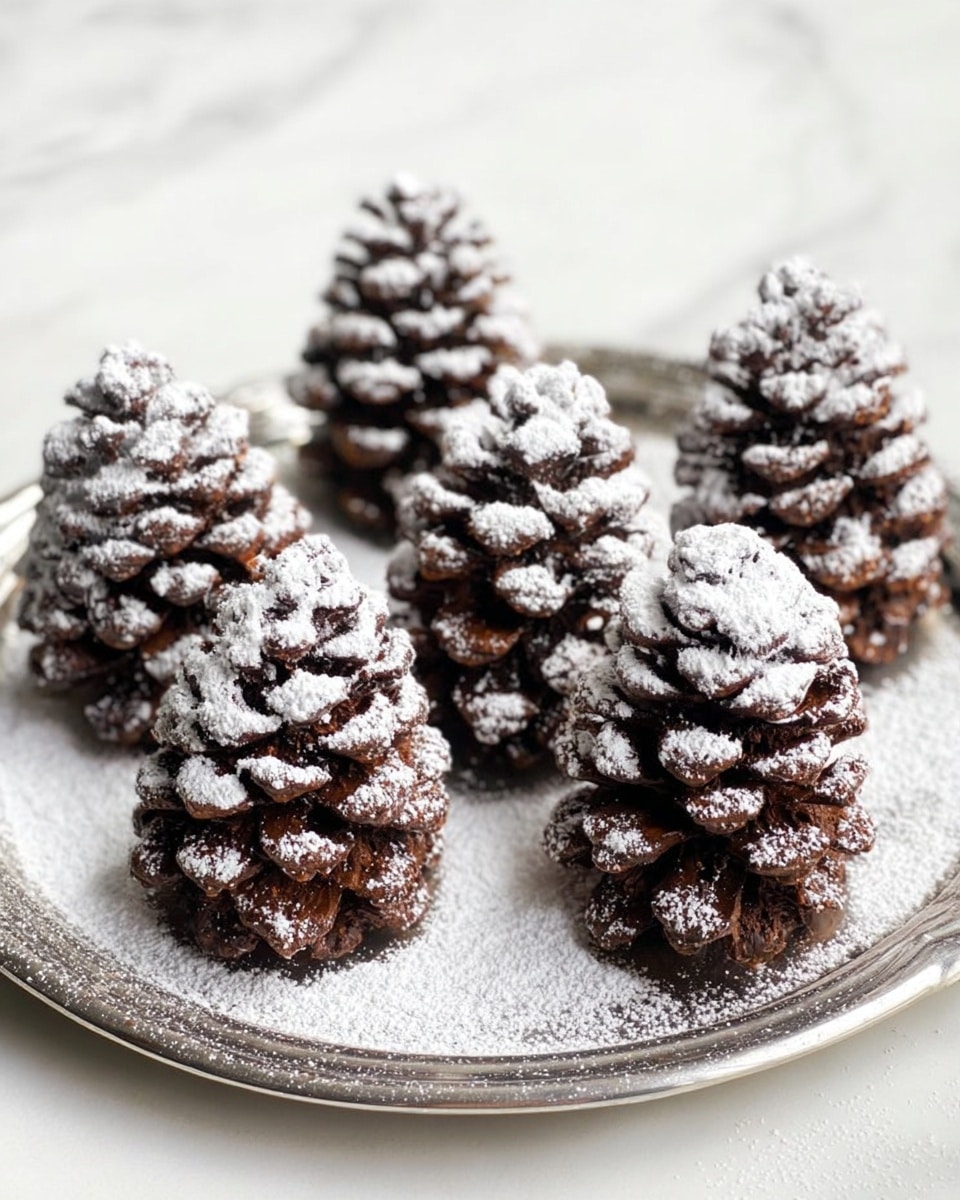
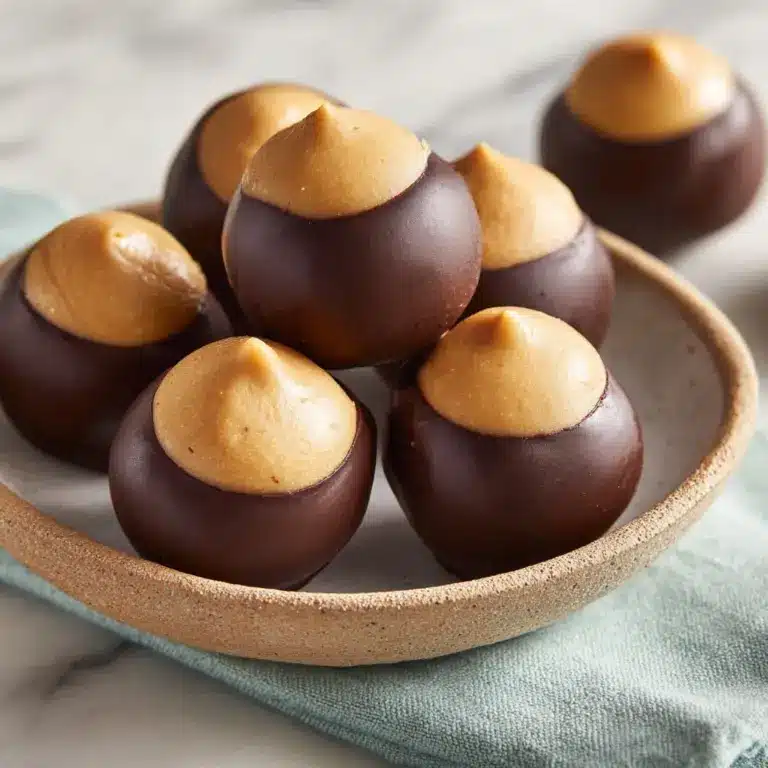
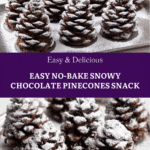
These Quick + Easy Snowy Chocolate Pinecones are a delightful winter treat that combines chocolatey sweetness with a fun, edible craft. Made from cereal and a creamy peanut butter mixture, they’re perfect for kids and make an elegant snack for holiday gatherings. No baking required—just mix, assemble, and enjoy!
Ingredients
- 3 cups Chex Chocolate cereal or comparable (such as Chocolate Fiber One cereal)
- 6 pretzel sticks (thicker dipping sticks work best)
- 1/2 cup peanut butter
- 1/4 cup Nutella (chocolate hazelnut spread)
- 3 tablespoons butter, softened
- 1 cup powdered sugar
Instructions
- Step 1: In a bowl, mix together the peanut butter, Nutella, softened butter, and powdered sugar until smooth.
- Step 2: Take a pretzel stick and spread some of the peanut butter mixture around it, shaping a slight cone.
- Step 3: Holding the pretzel by its tip, insert pieces of cereal into the peanut butter mixture in a symmetrical pattern around the stick. Continue adding cereal pieces in staggered rows as you move upward, leaving space near the top.
- Step 4: Cut several cereal pieces into small triangles and place them at the top to mimic the pinecone’s smaller scales.
- Step 5: If your pinecone becomes too tall, trim the top of the pretzel and cover it with a dollop of peanut butter mixture. Add a few more triangle-shaped cereal pieces to finish the top.
- Step 6: Dust the completed pinecone generously with powdered sugar for a snowy effect.
Tips & Variations
- Use different flavored cereals or spreads for a unique twist on the classic flavors.
- Try almond butter or sunflower seed butter for peanut-free versions.
- For extra sparkle, lightly drizzle melted white chocolate over the pinecones before dusting with powdered sugar.
Storage
Store the pinecones in an airtight container at room temperature for up to 2 days. For longer storage, refrigerate for up to a week. To enjoy, let them come to room temperature if chilled, as this softens the spreads for easier eating.
How to Serve
Serve this delicious recipe with your favorite sides.
FAQs
Can I use other types of cereal besides Chex Chocolate?
Yes, you can substitute with any crunchy, sturdy cereal that holds its shape well. Chocolate-flavored cereals work best to keep the rich flavor.
How do I serve and eat the pinecones?
Simply pick apart the pinecone piece by piece. They make a fun snack for kids and elegant finger food for events.
PrintQuick + Easy Snowy Chocolate Pinecones Recipe
These Quick + Easy Snowy Chocolate Pinecones are a delightful no-bake treat that combines sweet chocolate cereal, peanut butter, Nutella, and powdered sugar to create edible pinecones perfect for winter snacks or festive occasions. Stylish, fun, and simple to assemble, they make a great craft activity for kids and an elegant addition to any winter-themed party or wedding reception.
- Prep Time: 15 minutes
- Cook Time: 0 minutes
- Total Time: 15 minutes
- Yield: 6 pinecones 1x
- Category: Snack
- Method: No-Cook
- Cuisine: American
- Diet: Vegetarian
Ingredients
For the Pinecones
- 3 cups Chex Chocolate cereal or comparable (e.g., Chocolate Fiber One cereal)
- 6 pretzel sticks (preferably the thicker dipping sticks)
- 1/2 cup peanut butter
- 1/4 cup Nutella (chocolate hazelnut spread)
- 3 tablespoons butter, softened
- 1 cup powdered sugar
Instructions
- Prepare the Peanut Butter Mixture: In a mixing bowl, combine the peanut butter, Nutella, softened butter, and powdered sugar. Stir thoroughly until a smooth, well-blended mixture forms, which will act as the adhesive base for assembling the pinecones.
- Form the Pinecone Base: Take a pretzel stick and mold a generous amount of the peanut butter mixture around its top, shaping it into a slight cone. This will serve as the structure to attach the cereal pieces and mimic the shape of a pinecone.
- Attach Cereal Pieces: Holding the pretzel stick steady using its tip as a handle, start inserting pieces of chocolate cereal into the peanut butter cone in a symmetrical pattern around the stick. Continue layering, staggering the cereal pieces upward to replicate pinecone scales, working your way toward the top.
- Create the Pinecone Tip: Cut several cereal pieces into triangular shapes to mimic the naturally smaller pinecone scales near the top. Insert these triangular pieces at the peak of the pinecone for a realistic finish.
- Adjust Pinecone Height if Needed: If the assembled pinecone becomes too tall, trim off the top of the pretzel stick. Add a dollop of the peanut butter mixture to cover the cut end, then insert a few more triangular cereal pieces to maintain the pinecone appearance.
- Add Snowy Finish: Lightly dust the completed pinecones with powdered sugar to create a snowy effect that enhances their winter charm.
- Serve and Enjoy: To eat, simply pluck apart the pinecone piece by delicious piece, enjoying the sweet and nutty flavors combined in a fun, edible craft.
Notes
- No baking is required; this is a no-cook recipe suitable for quick preparation.
- Use a sturdy chocolate cereal to ensure the pinecones hold their shape well.
- For easier assembly, soften the peanut butter and butter fully to make the mixture pliable.
- These treats make excellent fun activities for children, especially during winter or holiday seasons.
- Store finished pinecones in an airtight container at room temperature for up to 2 days to maintain freshness.
- For variations, try using different nut butters or chocolate spreads.
Keywords: chocolate pinecones, no bake snack, winter treats, edible crafts for kids, peanut butter dessert, holiday snacks, easy chocolate treats
