
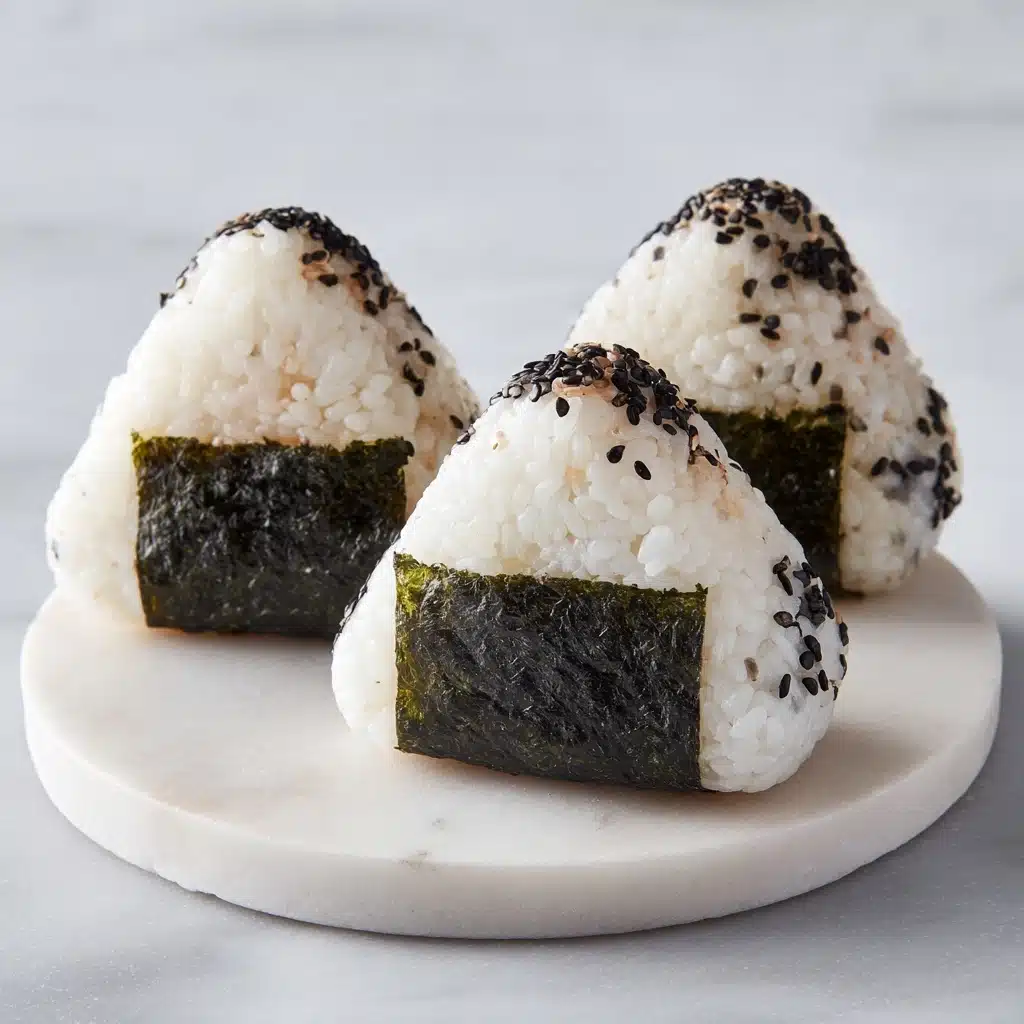
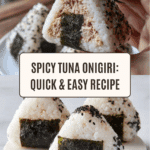
Quick & Easy Spicy Tuna Onigiri Recipe
Get ready to fall in love with one of the most satisfying Japanese snacks: Quick & Easy Spicy Tuna Onigiri. These delightful rice balls are savory, creamy, a little fiery, and finished with the unmistakable crunch of nori. Whether you need a grab-and-go lunch, a fun party appetizer, or a tasty midday pick-me-up, this recipe is a vibrant twist on the classic onigiri that absolutely delivers on flavor and simplicity. With a handful of straightforward ingredients and just a little hands-on time, you’ll be handed a snack that’s impressive to look at and even more irresistible to eat!
Ingredients You’ll Need
The beauty of Quick & Easy Spicy Tuna Onigiri lies in its straightforward yet essential lineup of ingredients. Each one brings its own character—the plumpness of Japanese rice, creamy heat from the filling, and briny nori for that satisfying snap. Let’s break down what you’ll need and why it matters:
- Cooked short grain rice: The stickiness of Japanese short grain is key for shaping sturdy, satisfying onigiri that won’t fall apart.
- Nori sheets: Delivers a punch of umami and creates that classic onigiri look; use more if you love a bigger seaweed hug around your rice ball.
- Salt: Essential for seasoning the rice and enhancing all the flavors; don’t skip it!
- Black sesame seeds: Optional but beautiful; they add subtle nuttiness and a gorgeous contrast in color.
- Water for moistening: Prevents sticky rice from clinging to your paddle or fingers, making assembly a breeze.
- Canned tuna (prefer oil-packed): Forms the protein-packed heart of your filling, with richer flavor from oil-packed tuna.
- Mayonnaise: Adds creamy richness that binds the filling and mellows the heat.
- Sriracha sauce: Brings the signature spicy kick—adjust up or down to suit your heat tolerance.
How to Make Quick & Easy Spicy Tuna Onigiri
Step 1: Season Your Rice
Start by transferring your freshly cooked, warm short grain rice into a large bowl. Sprinkle the salt evenly and gently mix it through. This is your moment to build juicy flavor from the inside out! If you’re using leftover rice, just warm it up in the microwave to bring back its stickiness and warmth.
Step 2: Prep the Spicy Tuna Filling
Crack open your can of tuna and strain it as thoroughly as possible—a fork and fine sieve work wonders for squeezing out stubborn liquid! Mix the drained tuna with mayonnaise and sriracha sauce in a small bowl. This umami-rich, creamy, and spicy blend is the star of your Quick & Easy Spicy Tuna Onigiri. Set aside and brace yourself for how good it smells.
Step 3: Organize Your Work Station
Lay out a generous sheet of plastic wrap or cling film on a clean surface, like a large plate or countertop. Moisten your rice paddle (or spatula) with water; this is your sticky rice defense secret. Now, divide your warm, seasoned rice into four equal portions so each onigiri comes out just right.
Step 4: Form Your Rice Circles
With your moistened paddle, scoop a quarter of your rice—a generous mound—into the center of the plastic wrap. Gently press it into a neat, even circle about half an inch thick. This is your onigiri foundation, so don’t rush the love here!
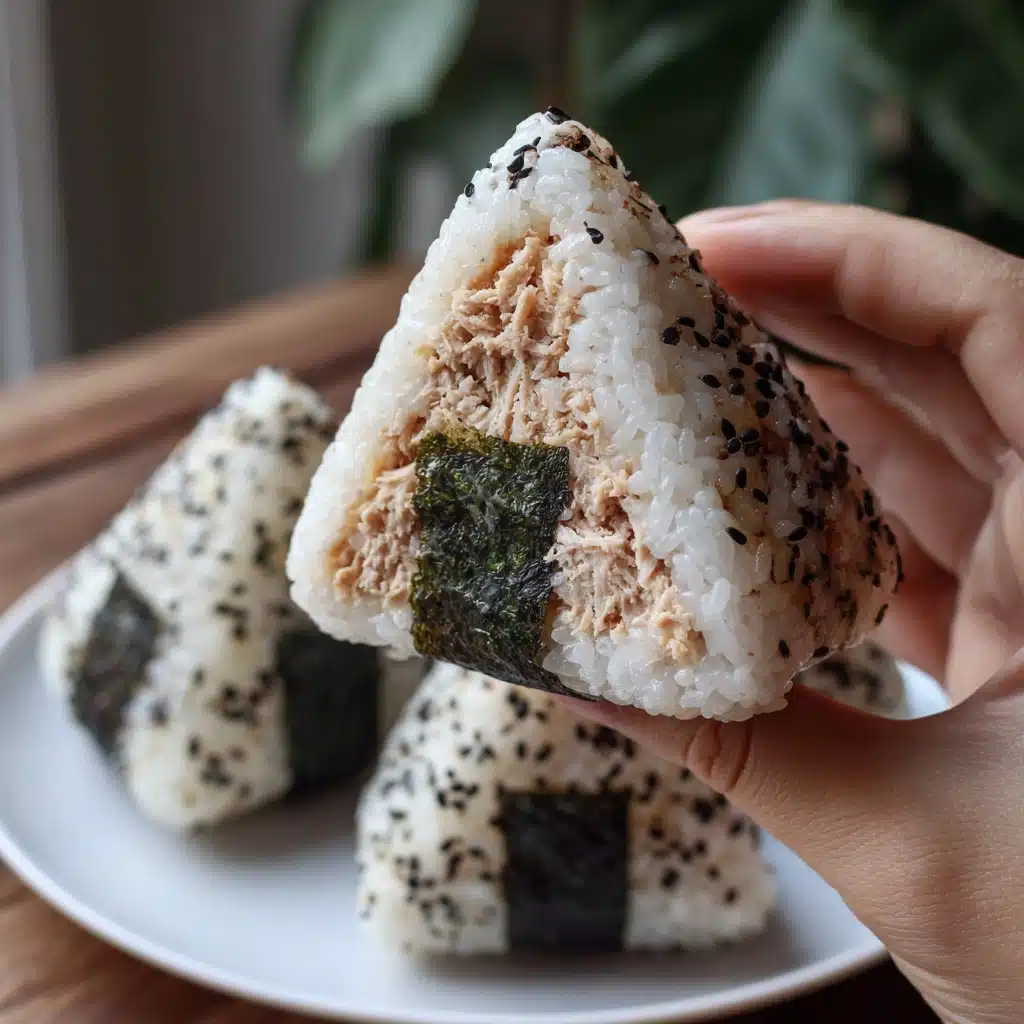
Step 5: Add the Spicy Tuna Center
Divide your spicy tuna mayo into four equal portions. Spoon one portion into the center of your rice circle. A little dollop goes a long way, packing every bite of your Quick & Easy Spicy Tuna Onigiri with punchy flavor.
Step 6: Shape Into Triangles
Gather the corners of the plastic wrap and gently twist, molding the rice around the filling to form a compact ball. Use the L of your thumb and pointer finger to gently press it into that classic triangle shape. Be patient—it gets easier with practice, and the rewards are totally worth it!
Step 7: Prep and Cut Your Nori
Take your nori sheet and fold it horizontally, cutting at the fold to create rectangles. Keep folding and cutting to make four vertical strips (or use more if you’re feeling extra). These strips are what you’ll use to wrap the base of your onigiri, giving you that gorgeous color contrast and the satisfying crunch upon every bite.
Step 8: Garnish and Finish
Gently remove your rice triangle from the plastic wrap and press the rough side of the nori strip to the base, starting from the middle down. Sprinkle with sesame seeds for color and nutty aroma. Your Quick & Easy Spicy Tuna Onigiri is ready to steal the show!
How to Serve Quick & Easy Spicy Tuna Onigiri
Garnishes
Finish off your onigiri with a sprinkle of black or white sesame seeds—they pop visually and add the faintest whiff of toasted flavor. A touch of extra sriracha or a drizzle of Kewpie mayo zigzagged over the top also brings irresistible flair.
Side Dishes
These tasty rice balls pair perfectly with crisp cucumber salad, a hot miso soup, or pickled veggies. The spicy, creamy filling begs for something fresh and cooling on the side—think lightly salted edamame or a bowl of tangy kimchi if you’re feeling adventurous.
Creative Ways to Present
Don’t be afraid to get playful with presentation! Wrap each Quick & Easy Spicy Tuna Onigiri in parchment for on-the-go lunches, or set them on a wooden board with bowls of dipping sauce for a family picnic spread. For parties, stack them in a pyramid on a platter and let folks break them open to discover the surprise inside.
Make Ahead and Storage
Storing Leftovers
If you manage to have leftovers, wrap each onigiri tightly in plastic wrap and store in an airtight container in the fridge for up to two days. The rice texture will stay pleasantly soft, especially if you eat them within 24 hours.
Freezing
You can freeze Quick & Easy Spicy Tuna Onigiri for up to one month. Wrap each rice ball individually in plastic wrap, then place them in a freezer bag. Thaw overnight in the fridge or gently reheat straight from frozen using the directions below.
Reheating
For best texture, remove any nori before microwaving, as it can become soggy. Reheat wrapped onigiri in the microwave for 30–60 seconds until warm through, then reapply fresh nori strips for that signature crunch.
FAQs
Can I make Quick & Easy Spicy Tuna Onigiri with brown rice?
Yes! While classic onigiri uses short grain white rice for the perfect stickiness, brown rice can work if you cook it until tender—just be aware it’s a little less cohesive.
What’s the best way to prevent rice from sticking to my hands?
Keep a small bowl of water nearby and dampen your hands or paddle before handling the rice. This old-school trick makes assembly clean and enjoyable.
Can I make Quick & Easy Spicy Tuna Onigiri less spicy?
Of course! Simply reduce the amount of sriracha or substitute in a mild hot sauce—or leave it out for a creamy tuna mayo filling with zero heat.
How far ahead can I make these onigiri?
For the freshest texture, prepare your onigiri the morning of or within a few hours of serving. If needed, you can assemble them the night before, just wait to add the nori until just before eating to preserve its crispness.
What other fillings can I use?
Once you’ve mastered Quick & Easy Spicy Tuna Onigiri, try swapping in salmon flakes, pickled plum (umeboshi), cooked chicken, or even avocado and cucumber for vegan options. The possibilities are endless!
Final Thoughts
If you’re craving a snack that’s satisfying, portable, and full of flavor, you can’t go wrong with Quick & Easy Spicy Tuna Onigiri. This recipe is fun, approachable, and seriously craveable—you’ll be making it on repeat! Give it a try, share with friends, and make these tasty rice triangles a staple in your kitchen.
PrintQuick & Easy Spicy Tuna Onigiri Recipe

Learn how to make delicious and simple Spicy Tuna Onigiri – a perfect snack or light meal that’s packed with flavor!
- Prep Time: 15 minutes
- Cook Time: 0 minutes
- Total Time: 15 minutes
- Yield: 4 onigiri 1x
- Category: Appetizer/Snack
- Method: Mixing, Shaping
- Cuisine: Japanese
- Diet: Non-Vegetarian
Ingredients
Rice:
- 3 cups cooked short grain rice
- 1/2 tsp salt
Spicy Tuna Filling:
- 5.29 oz canned tuna (in oil ideally)
- 2 tbsp mayonnaise
- 1 tbsp sriracha sauce
Assembly:
- 1/2 sheet nori
- 1/2 tsp black sesame seeds
- Water (to moisten rice paddle)
Instructions
- Prepare Rice: Season warm rice with salt, cover, and keep warm.
- Make Tuna Filling: Mix strained tuna, mayo, and sriracha in a bowl.
- Assemble Onigiri: Divide rice and tuna mixture into portions, shape into balls, and wrap with nori.
- Enjoy: Garnish with sesame seeds and enjoy!
Notes
- You can customize the filling with ingredients like avocado or pickled radish.
- Make sure to tightly wrap the onigiri to keep its shape.
Nutrition
- Serving Size: 1 onigiri
- Calories: Approx. 200 kcal
- Sugar: 1g
- Sodium: 350mg
- Fat: 6g
- Saturated Fat: 1g
- Unsaturated Fat: 5g
- Trans Fat: 0g
- Carbohydrates: 30g
- Fiber: 1g
- Protein: 10g
- Cholesterol: 15mg
Keywords: Spicy Tuna Onigiri, Onigiri Recipe, Japanese Snack, Tuna Rice Balls

