
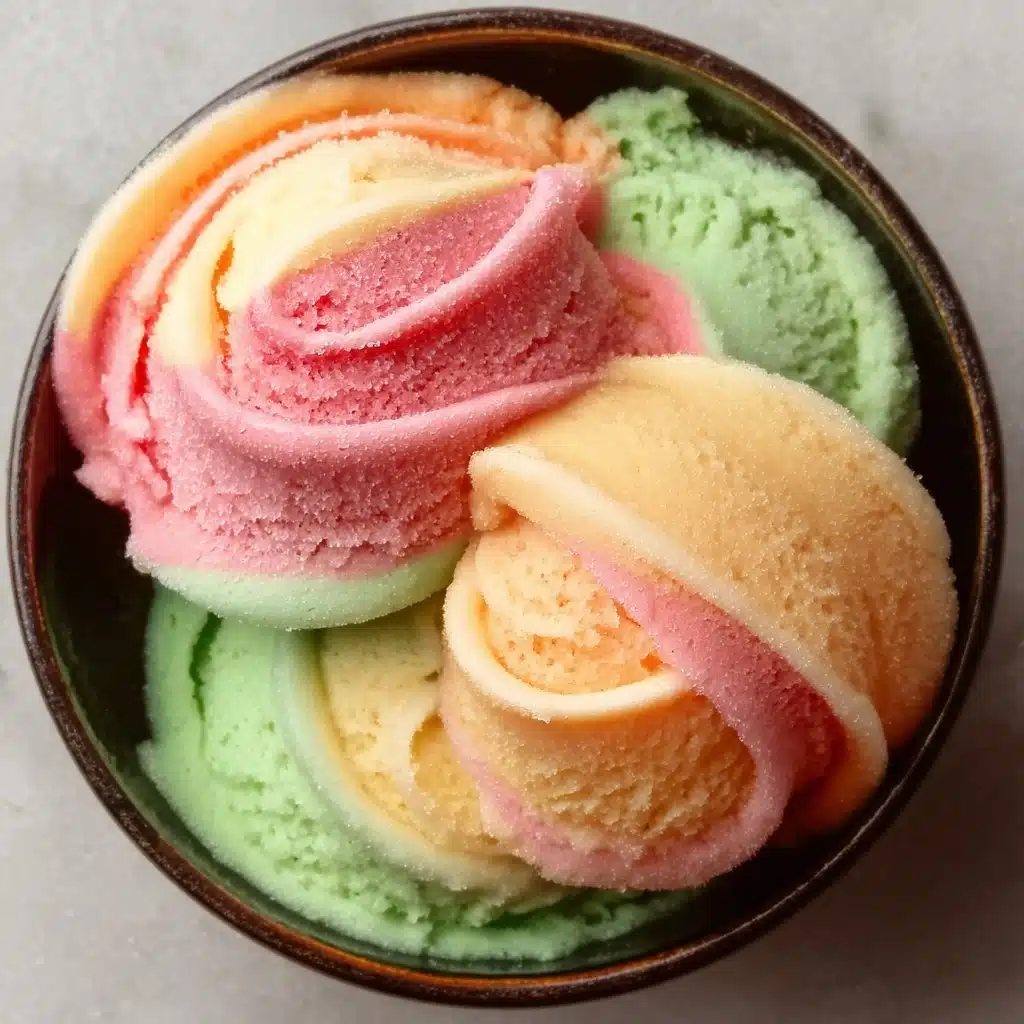
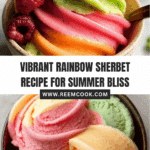
Homemade Rainbow Sherbet Recipe
Imagine digging your spoon into a frosty swirl of Homemade Rainbow Sherbet, each scoop bursting with tangy citrus, fresh berries, and creamy goodness. This playful treat marries zesty orange, zippy lime, and juicy raspberry layers in a colorful celebration that will bring smiles to kids and adults alike. Whether you’re crafting this for a festive party or just a hot afternoon at home, this sherbet recipe delivers old-school charm and vibrant, homemade flavor you simply can’t find in any store.
Ingredients You’ll Need
With just a handful of pantry and fridge staples, you’re set for sherbet success! Each ingredient plays its own special part, from rich cream bringing the smoothness to the tart fruits adding punchy color and zing. Gather up these essentials for your sherbet adventure:
- Heavy cream: Gives the sherbet a silky, luscious texture that feels utterly luxurious on your tongue.
- Whole milk: Keeps the base creamy but not too heavy, striking the perfect balance.
- Granulated sugar (divided): Sweetens every fruity layer just right and helps with that perfect scoopability.
- Vanilla extract: Rounds out the flavors and adds depth to the creamy base.
- Orange juice: Delivers that sunny citrus punch and a gorgeous orange hue to one layer.
- Lime juice: For tartness and a bright, refreshing color—essential for a stunning rainbow!
- Raspberries: The heart of the pink layer, bringing both beautiful color and a lively, fragrant berry flavor.
- Optional food coloring: A little boost for those who want vividly colored sherbet layers, completely up to you.
How to Make Homemade Rainbow Sherbet
Step 1: Prepare the Creamy Base
Start by whisking together the heavy cream, whole milk, and about 1 cup of granulated sugar in a saucepan over medium heat. As you stir, the sugar will quietly dissolve, and the mixture should get warm—but don’t let it reach a simmer. Once everything’s combined and silky, remove it from the heat and stir in that fragrant vanilla extract. Set aside and let this mixture cool completely. This step is essential for ensuring a smooth sherbet and helps bring everything together in creamy harmony.
Step 2: Puree the Raspberries
Next, toss your fresh raspberries into a blender, along with a few tablespoons of sugar. Blitz until smooth, then strain through a fine mesh sieve to catch any pesky seeds. You’ll be left with a glossy puree bursting with berry flavor. This bright raspberry layer will give your rainbow sherbet its cheerful pink swirl!
Step 3: Churn the Sherbet Base
Once your dairy base is cool, pour it into your ice cream maker and churn following the manufacturer’s directions. You’re looking for a soft-serve texture—light, airy, and thick enough to hold a swirl. This is where that old-fashioned magic really happens, setting up the perfect canvas for your rainbow masterpiece.
Step 4: Create and Color the Flavors
Divide the churned base into three bowls. To one, mix in orange juice and a few drops of orange food coloring if you want that pretty pop. In the next, stir in lime juice and a touch of green food coloring. Finally, fold the vibrant raspberry puree into the last bowl. You’ll now have three distinct, brightly colored flavors ready to layer!
Step 5: Layer and Freeze
In a freezer-safe container, start with a scoop of one flavor, then add the next, and so on, building up beautiful, alternating stripes of color. Use a spoon or knife to gently swirl them for a marbled look if you like. Cover and freeze for 4-6 hours, until your homemade rainbow sherbet is firm and scoopable. The hardest part—you have to wait until it’s ready!
How to Serve Homemade Rainbow Sherbet
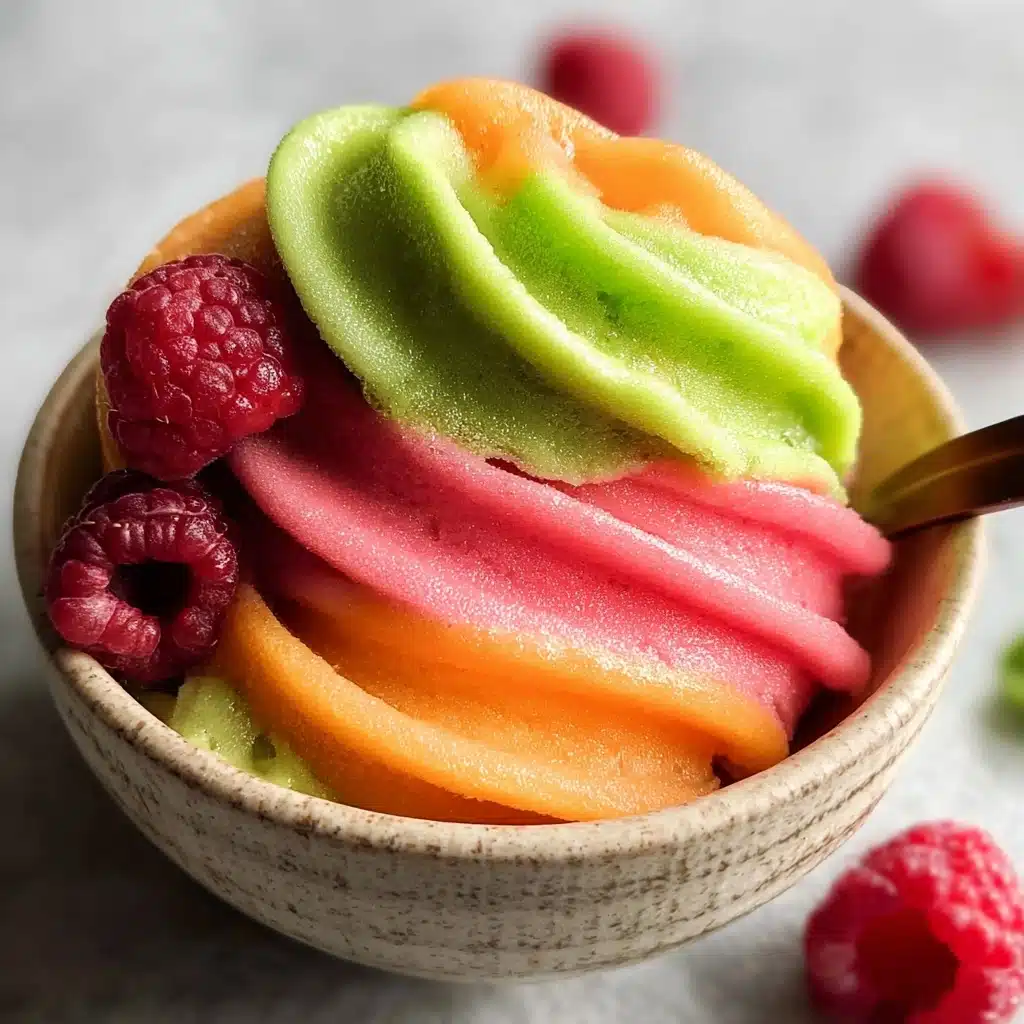
Garnishes
Give each bowl a little extra flair! Fresh fruit—like orange or lime slices, a sprinkle of fresh raspberries, or even a peppermint sprig—brings visual sparkle and complements the flavors. A dollop of whipped cream on top is pure joy, too!
Side Dishes
Serve Homemade Rainbow Sherbet alongside crisp sugar cookies or buttery shortbread for a satisfying texture contrast. For a fancier dessert, pair it with vanilla pound cake or a slice of angel food cake. The sherbet’s tartness cuts through rich baked goods effortlessly.
Creative Ways to Present
Up the wow-factor by scooping sherbet into hollowed-out citrus halves for a whimsical touch. You can also nestle small scoops into ice cream cones, layer in glass parfait cups, or create a fun homemade sherbet float with fizzy lemon-lime soda. Kids and adults alike will be delighted!
Make Ahead and Storage
Storing Leftovers
Keep any extra rainbow sherbet in an airtight, freezer-safe container. Press a layer of plastic wrap right on the surface before sealing to help maintain its dreamy texture. It’ll keep nicely for about a week, but you’ll probably find it disappears long before then!
Freezing
For the best consistency, freeze homemade rainbow sherbet as soon as you layer and swirl the flavors. Make sure your container is tightly sealed to keep the sherbet from picking up any stray freezer odors. Avoid freezing for more than 1–2 weeks, as ice crystals can form and affect the creamy texture.
Reheating
Sherbet is best served frozen, never reheated—but if it’s too hard to scoop straight from the freezer, just leave it out at room temperature for 5-10 minutes to soften up into that perfect, dreamy consistency.
FAQs
Can I make Homemade Rainbow Sherbet without an ice cream maker?
Absolutely! While an ice cream maker yields the creamiest results, you can pour the base into a shallow pan, freeze, and stir vigorously every 30-60 minutes until it reaches the right texture. It’s worth the little extra effort for that homemade magic.
Do I have to use food coloring?
Nope, food coloring is totally optional. The natural hues from the raspberry, orange, and lime juices are lovely on their own, but a few drops of food coloring can make your sherbet even more eye-catching for special occasions.
Can I substitute other fruits?
Definitely! Feel free to swap in strawberries, blackberries, or pineapple for one of the layers. Just follow the same blending and straining process to keep that ultra-smooth sherbet texture.
What’s the difference between sherbet and sorbet?
Sherbet contains dairy, which gives it a creamy, smooth vibe. Sorbet skips the dairy entirely and is all fruit and sugar. Both are delicious, but there’s just something so dreamy about the blend of fruit and cream in homemade sherbet.
How do I get clean, defined layers?
Try freezing each layer for about 30 minutes before adding the next to help keep those stripes bold and beautiful. Or, for a classic marbled swirl, gently run a knife through all three flavors before freezing the final time!
Final Thoughts
I hope you feel inspired to make your own Homemade Rainbow Sherbet! This is one of those kitchen adventures that invites creativity and brings instant joy to anyone lucky enough to grab a scoop. Dive in, have fun with the flavors and colors, and add your own special twist—you might just spark a new family tradition!
PrintHomemade Rainbow Sherbet Recipe

Homemade Rainbow Sherbet is a delightful and colorful frozen treat that combines fruity flavors in a creamy base. This recipe is perfect for a hot summer day or anytime you crave a sweet and tangy dessert.
- Prep Time: 20 minutes
- Cook Time: 10 minutes
- Total Time: 6 hours 30 minutes
- Yield: 8 servings 1x
- Category: Dessert
- Method: Churning, Freezing
- Cuisine: American
- Diet: Vegetarian
Ingredients
Base:
- 1 1/2 cups heavy cream
- 1 1/2 cups whole milk
- 1 3/4 cups granulated sugar (divided)
- 1 teaspoon vanilla extract
Raspberry Mixture:
- 8 ounces raspberries
- 2 tablespoons granulated sugar
Orange Mixture:
- 3/4 cup orange juice
- Orange food coloring
Lime Mixture:
- 1/2 cup lime juice
- Green food coloring
Instructions
- Prepare the Base: In a saucepan, combine cream, milk, and 1 cup of sugar over medium heat until sugar is dissolved (5-7 minutes). Remove from heat, stir in vanilla extract, and cool completely.
- Make the Raspberry Mixture: Blend raspberries with 2 tablespoons of sugar, then strain through a fine mesh sieve.
- Churn the Base: Pour the cooled base into an ice cream maker and churn until it reaches a soft serve consistency.
- Create the Flavored Mixtures: Divide the base into three parts. Mix one part with orange juice and orange food coloring, another part with lime juice and green food coloring.
- Layer and Freeze: Layer the raspberry, lime, and orange mixtures in a container, alternating between flavors. Freeze for 4-6 hours until the sherbet is firm.
Notes
- You can customize the fruit flavors by using your favorite fruits or juices.
- For a creamier texture, let the sherbet sit at room temperature for a few minutes before serving.
Nutrition
- Serving Size: 1 serving (approx. 1/2 cup)
- Calories: 250
- Sugar: 23g
- Sodium: 45mg
- Fat: 15g
- Saturated Fat: 9g
- Unsaturated Fat: 5g
- Trans Fat: 0g
- Carbohydrates: 27g
- Fiber: 1g
- Protein: 2g
- Cholesterol: 50mg
Keywords: Rainbow Sherbet, Homemade Dessert, Frozen Treat, Fruit Flavors, Ice Cream Maker
