
Crispy Chicken Caesar Sandwich Recipe
Introduction
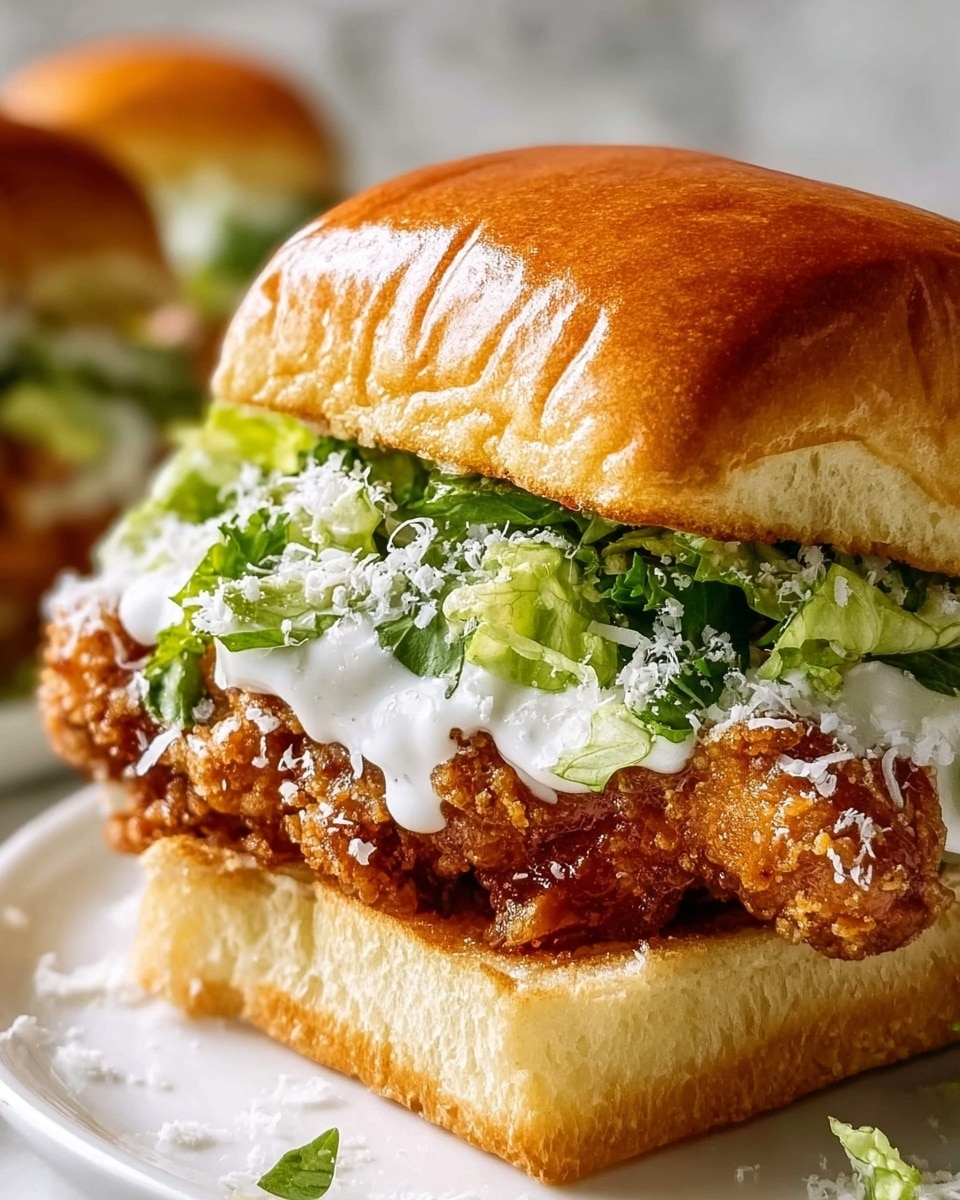
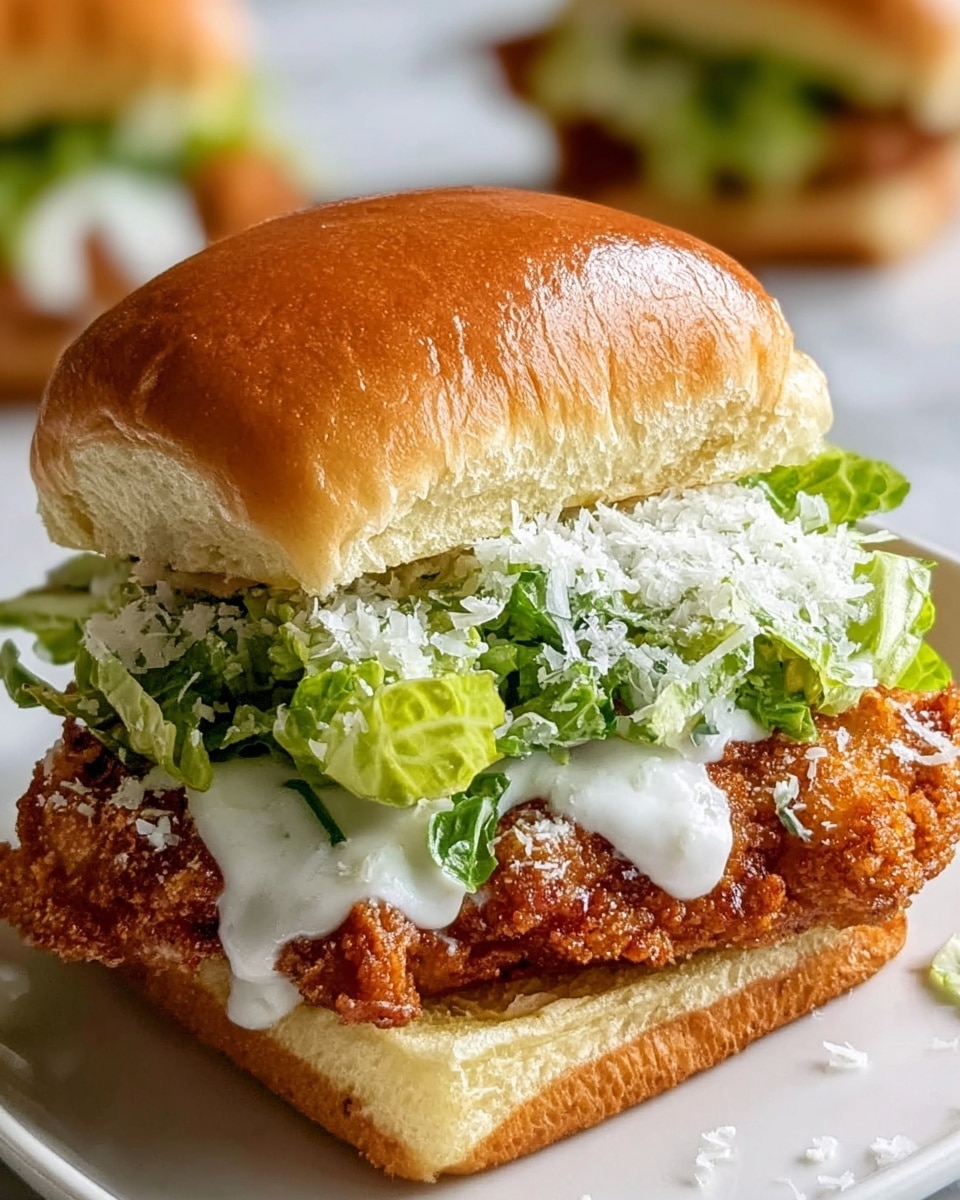
This Crispy Chicken Caesar Sandwich combines the crunch of golden fried chicken with the fresh flavors of Romaine lettuce and creamy Caesar dressing. It’s a satisfying meal perfect for lunch or a casual dinner that easily elevates your sandwich game.
Ingredients
- 4 boneless, skinless chicken breasts
- 1 cup all-purpose flour
- Salt, to taste
- Black pepper, to taste
- 1 teaspoon garlic powder
- 1 teaspoon onion powder
- 1 cup buttermilk
- 2 cups panko breadcrumbs
- 1/2 cup grated Parmesan cheese
- 1/4 cup olive oil, for frying
- 4 large sandwich rolls, split
- 1 cup Romaine lettuce, shredded
- 1/2 cup Caesar dressing
- 1/4 cup shaved Parmesan cheese
- 2 tablespoons melted butter
- 1 clove garlic, minced
Instructions
- Step 1: Preheat the oven to 400°F (200°C).
- Step 2: Pound the chicken breasts to an even thickness using a meat mallet to ensure even cooking.
- Step 3: In a shallow dish, combine flour, salt, black pepper, garlic powder, and onion powder.
- Step 4: Pour the buttermilk into another shallow dish.
- Step 5: In a third dish, mix panko breadcrumbs with grated Parmesan cheese.
- Step 6: Dredge each chicken breast in the flour mixture, shaking off excess. Dip into the buttermilk, allowing excess to drip off, then coat thoroughly in the breadcrumb mixture.
- Step 7: Heat olive oil in a large skillet over medium heat. Fry each chicken breast until golden and crispy, about 4 minutes per side. Remove and place on a baking sheet.
- Step 8: Bake the chicken in the preheated oven for about 15 minutes or until fully cooked through.
- Step 9: In a small bowl, mix melted butter with minced garlic. Brush the cut sides of the sandwich rolls with this mixture.
- Step 10: Place the rolls on a baking sheet and toast them in the oven for about 5 minutes, until golden brown.
- Step 11: Assemble the sandwiches by placing each piece of crispy chicken on the bottom half of the toasted roll.
- Step 12: Top with shredded Romaine lettuce.
- Step 13: Drizzle Caesar dressing over the lettuce and sprinkle with shaved Parmesan cheese.
- Step 14: Close the sandwich with the top half of the roll and serve immediately.
Tips & Variations
- For extra flavor, marinate the chicken breasts in buttermilk and a bit of hot sauce for 1-2 hours before breading.
- Swap sandwich rolls for ciabatta or brioche buns for a different texture and taste.
- Use homemade Caesar dressing for a fresher flavor.
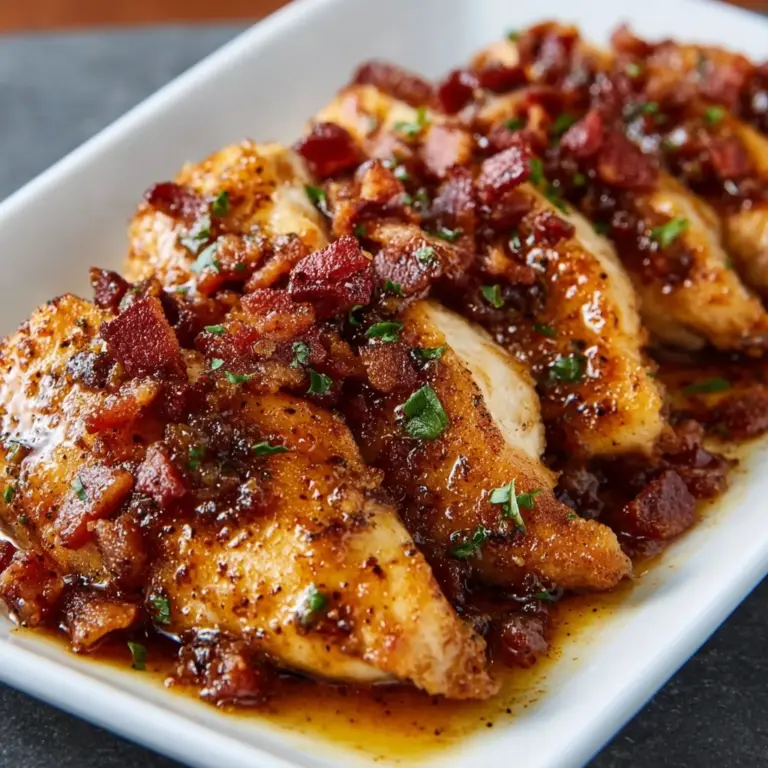
- Try adding crispy bacon or sliced tomatoes for added layers.
Storage
Store any leftover chicken and sandwich components separately in airtight containers in the refrigerator for up to 3 days. To reheat, warm the chicken in a skillet or oven to retain its crispiness, and toast the rolls again before assembling.
How to Serve
Serve this delicious recipe with your favorite sides.
FAQs
Can I use chicken thighs instead of breasts?
Yes, boneless, skinless chicken thighs can be used. They may take slightly longer to cook and offer a juicier, more flavorful alternative.
Is it necessary to bake the chicken after frying?
Baking after frying ensures the chicken is cooked through without burning the crust. It’s recommended for juicy and fully cooked chicken.
PrintCrispy Chicken Caesar Sandwich Recipe

This Crispy Chicken Caesar Sandwich features juicy, breaded chicken breasts fried to golden perfection, finished in the oven for a tender inside, and served on toasted sandwich rolls with crisp Romaine lettuce, creamy Caesar dressing, and Parmesan cheese. It combines classic Caesar salad flavors with a satisfying crunchy chicken texture, perfect for a hearty lunch or dinner.
- Prep Time: 20 minutes
- Cook Time: 45 minutes
- Total Time: 1 hour 5 minutes
- Yield: 4 sandwiches 1x
- Category: Sandwiches
- Method: Frying
- Cuisine: American
Ingredients
For the Chicken:
- 4 boneless, skinless chicken breasts
- 1 cup all-purpose flour
- Salt, to taste
- Black pepper, to taste
- 1 teaspoon garlic powder
- 1 teaspoon onion powder
- 1 cup buttermilk
- 2 cups panko breadcrumbs
- 1/2 cup grated Parmesan cheese
- 1/4 cup olive oil, for frying
For the Sandwiches:
- 4 large sandwich rolls, split
- 1 cup Romaine lettuce, shredded
- 1/2 cup Caesar dressing
- 1/4 cup shaved Parmesan cheese
- 2 tablespoons melted butter
- 1 clove garlic, minced
Instructions
- Preheat Oven: Preheat the oven to 400°F (200°C) to prepare for finishing the chicken and toasting the rolls.
- Pound Chicken Breasts: Use a meat mallet to pound the chicken breasts to an even thickness, ensuring they cook evenly.
- Prepare Flour Mixture: In a shallow dish, combine the all-purpose flour, salt, black pepper, garlic powder, and onion powder for seasoning the chicken.
- Prepare Wet Mixture: Pour the buttermilk into a separate shallow dish to dip the chicken before breading.
- Prepare Breadcrumb Mixture: Mix the panko breadcrumbs and grated Parmesan cheese together in a third dish to create the crispy coating.
- Bread the Chicken: Dredge each chicken breast first in the flour mixture, shaking off any excess. Dip them into the buttermilk, letting excess drip off. Then coat thoroughly with the breadcrumb and Parmesan mixture to ensure a crunchy crust.
- Fry the Chicken: Heat olive oil in a large skillet over medium heat. Fry each chicken breast about 4 minutes per side until golden and crispy. Remove from the skillet and place on a baking sheet.
- Bake the Chicken: Place the fried chicken breasts in the preheated oven and bake for approximately 15 minutes or until fully cooked through.
- Prepare Garlic Butter: Mix melted butter and minced garlic in a small bowl to brush on the sandwich rolls.
- Toast the Rolls: Brush the cut sides of the sandwich rolls with the garlic butter mixture and place them on a baking sheet. Toast in the oven for about 5 minutes or until golden brown.
- Assemble the Sandwiches: On the bottom half of each toasted roll, place a crispy chicken breast.
- Add Lettuce: Top the chicken with a generous portion of shredded Romaine lettuce.
- Add Dressing and Cheese: Drizzle Caesar dressing over the lettuce and sprinkle shaved Parmesan cheese on top.
- Close and Serve: Finish by closing the sandwich with the top half of the roll and serve immediately for best texture and flavor.
Notes
- For extra flavor, marinate the chicken in buttermilk for 1-2 hours before breading.
- Use fresh grated Parmesan for the best taste in both breading and topping.
- If you prefer a lower-fat option, you can bake the breaded chicken breasts directly instead of frying.
- Make sure the oil is hot enough before frying to ensure a crisp crust without absorbing excess oil.
- Store leftover chicken separately from the sandwich components to maintain crispiness.
Keywords: Crispy Chicken Sandwich, Caesar Dressing, Fried Chicken, Panko Chicken, Parmesan Chicken Sandwich, Lunch Sandwich


