all-time favorite chocolate pudding and pie filling Recipe
If you’ve been searching for a recipe that truly delivers deep chocolate flavor, lush creaminess, and undeniable comfort, look no further than this all-time favorite chocolate pudding and pie filling. Whether you want to whip up something cozy for a weeknight treat or wow your friends with a showstopping chocolate pie, this recipe does it all. It’s a treasured classic in my kitchen, and after one spoonful, I think you’ll see why it deserves a permanent spot in yours!
Ingredients You’ll Need
It’s hard to believe that something so delicious starts with only a few everyday ingredients, but each one brings its own magic to the table. From rich cocoa to creamy milk and fragrant vanilla, let’s take a moment to appreciate how these pantry staples create the best all-time favorite chocolate pudding and pie filling.
- Hershey’s cocoa powder: Delivers that iconic, deep chocolate flavor you crave. Use a good quality cocoa for the best taste.
- Sugar: Adds essential sweetness. Start sparingly; you can always taste and add more if you prefer a sweeter pudding.
- Corn starch: The secret to a perfectly smooth and thick pudding texture that holds up beautifully as a pie filling.
- Salt: Just a teaspoon brings out the full depth of the chocolate and balances the sweetness.
- Milk: Whole milk gives the pudding richness and a creamy mouthfeel, but any milk works in a pinch.
- Butter: Stirred in at the end for added silkiness and a glossy finish.
- Good vanilla extract: Rounds out the flavors with warm, aromatic notes—don’t skip this!
- Pre-made deep dish pie crust: Convenient and flaky, the perfect base for transforming your pudding into a dreamy pie.
How to Make all-time favorite chocolate pudding and pie filling
Step 1: Whisk Together Dry Ingredients
Begin by adding the cocoa powder, sugar, corn starch, and salt to your medium saucepan. Give everything a vigorous whisk to banish any lumps—this helps ensure your all-time favorite chocolate pudding and pie filling is velvety-smooth from the start.
Step 2: Gradually Add Milk
Now, slowly pour the milk into your saucepan, whisking as you go. This step is all about patience—a steady pour and constant whisking do wonders for blending those dry ingredients into a lump-free, chocolatey base.
Step 3: Cook and Stir Until Thickened
Place the pan over medium-high heat and continue whisking. The mixture will take a few minutes to heat up, but as soon as it starts bubbling, keep it at a gentle boil for a minute or so. You’ll see your pudding thicken up right before your eyes! Just remember, it won’t get much thicker as it cools, so don’t stop short.
Step 4: Add Butter and Vanilla
Remove the saucepan from the heat and stir in the butter and vanilla extract. These final touches bring even more richness and irresistible depth to your all-time favorite chocolate pudding and pie filling.
Step 5: Pour Into Serving Dishes
Let your craving decide! Ladle the warm, glossy pudding into individual bowls for a cozy dessert—or get ready for pie magic in the next step.
Step 6: Pour Into Pie Crust (For Pie Lovers)
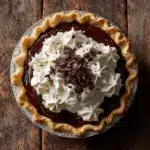
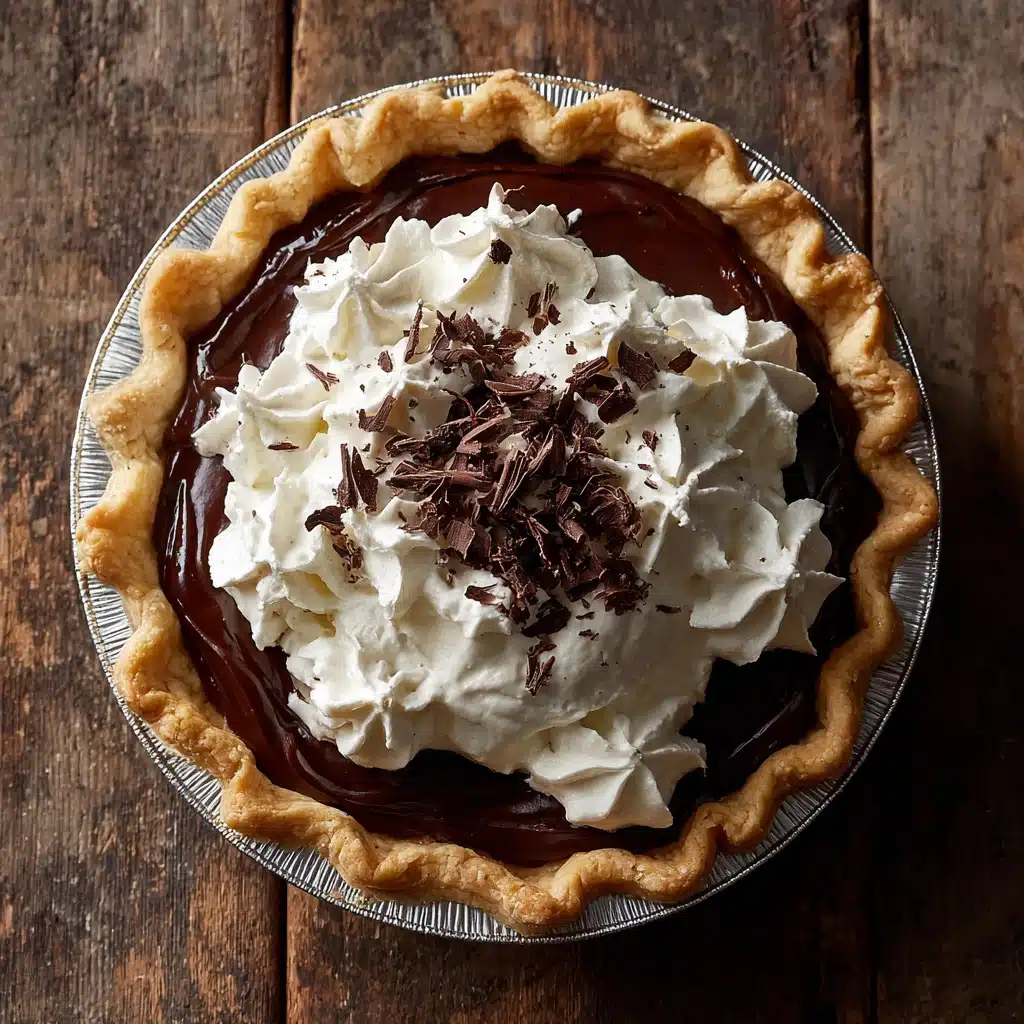
If you’re making chocolate pie, pour the filling into a pre-baked and fully cooled nine-inch pie crust. Smooth the top with a spatula so every slice will look picture perfect.
Step 7: Chill and Set
Cover your pudding or pie with plastic wrap, making sure it touches the surface to prevent skin from forming. Pop it in the fridge and let it set for four to six hours, or until perfectly firm and sliceable.
Step 8: Top with Whipped Cream
Once chilled, it’s time for a crowning touch of sweetened whipped cream. Dollop generously or spread smoothly over your pie—either way, it makes your all-time favorite chocolate pudding and pie filling even more irresistible.
How to Serve all-time favorite chocolate pudding and pie filling
Garnishes
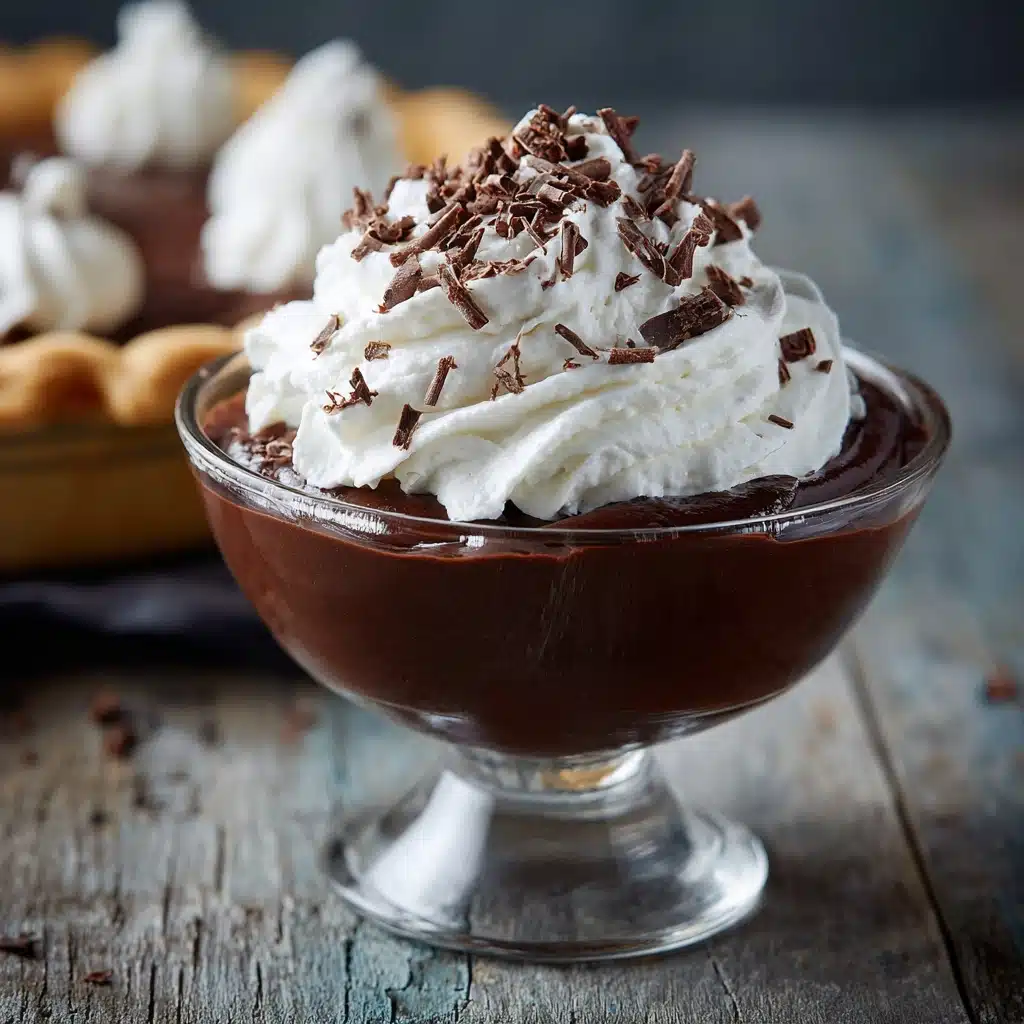
A swirl of freshly whipped cream is always a hit, but feel free to get creative! Try a sprinkle of chocolate shavings, a dusting of cocoa powder, or even a few fresh berries to add a pop of color and zing. Each garnish brings its own little flourish to your all-time favorite chocolate pudding and pie filling.
Side Dishes
This pudding or pie is rich and satisfying on its own, but if you’re building a dessert spread, consider simple sidekicks like crisp butter cookies, a scoop of vanilla ice cream, or a handful of toasted nuts. These accents heighten the elegance without stealing the show.
Creative Ways to Present
Besides the classic pie or single-serve cups, serve your all-time favorite chocolate pudding and pie filling in pretty glasses layered with crushed cookies and berries for parfaits, or pipe it into miniature tart shells for party-perfect treats. The only limit is your imagination!
Make Ahead and Storage
Storing Leftovers
Leftovers should be covered tightly with plastic wrap or stored in an airtight container in the fridge. They’ll stay delicious for up to three days, although I bet they’ll disappear much faster!
Freezing
For longer storage, you can freeze your chocolate pudding or pie filling. Let it cool completely, then transfer to a freezer-safe container. It’s best enjoyed within one month for the tastiest results. Just keep in mind, the texture may change slightly after thawing.
Reheating
If you prefer your pudding warm, gently heat individual servings in the microwave, stirring every 10-15 seconds until warmed through. For pies, enjoy cold, or remove slices and microwave briefly. Always avoid overheating, as this can make the pudding separate.
FAQs
Can I use a different type of milk?
Absolutely! While whole milk makes the pudding especially rich, you can use 2 percent, skim, or non-dairy milk. Just note that the flavor and texture may vary slightly, but your all-time favorite chocolate pudding and pie filling will still be delicious.
How can I make the pudding less sweet?
If you prefer a more bittersweet dessert, simply reduce the sugar to your taste. Start with about 3/4 cup and add more as needed after tasting. Cocoa’s natural bitterness shines with a lighter hand on the sugar.
Will this recipe work for a layered trifle?
Yes! The thick, creamy texture makes it ideal for layering in trifles with cake cubes, whipped cream, and fruit. It holds its shape beautifully and steals the show in any layered dessert.
Is it possible to make the all-time favorite chocolate pudding and pie filling gluten free?
Great news—you don’t have to change a thing! Corn starch is naturally gluten free, so just double-check your cocoa and other ingredients for cross-contamination if you’re cooking for someone with allergies.
Can I make this all-time favorite chocolate pudding and pie filling ahead of time?
Definitely! In fact, letting the pudding or pie chill for several hours is vital for the best texture. Make it a day in advance, cover well, and you’re all set for effortless serving.
Final Thoughts
This recipe is pure chocolate comfort in every bite, and once you make all-time favorite chocolate pudding and pie filling from scratch, you’ll understand why it has a lifelong following in so many families. Gather your ingredients, pour your heart into stirring, and get ready for something truly special. I can’t wait for you to try it and share the joy!
Printall-time favorite chocolate pudding and pie filling Recipe
Indulge in the rich, creamy goodness of this all-time favorite chocolate pudding and pie filling. Perfect for satisfying your sweet cravings!
- Prep Time: 15 minutes
- Cook Time: 10 minutes
- Total Time: 25 minutes
- Yield: 8 servings 1x
- Category: Dessert
- Method: Stovetop
- Cuisine: American
- Diet: Vegetarian
Ingredients
Dry Ingredients:
- 1/2 cup Hershey’s cocoa powder
- 1 1/8 cups sugar (add sparingly, then taste test if you need more add more)
- 1/3 cup cornstarch
- 1 tsp salt
Wet Ingredients:
- 3 cups milk
- 3 tbsp butter
- 1 1/2 tsp good vanilla extract
- 1 pre-made deep dish pie crust
Instructions
- Dry ingredients whisked together in a saucepan. In a medium saucepan, mix all dry ingredients. Whisk well.
- Adding milk and whisking together. Gradually add milk to dry ingredients in the saucepan. Whisk until smooth and well blended.
- Cooking over heat until it boils. Cook over medium-high heat, stirring constantly. Mixture will come to a boil. Boil for 1 minute or until the pudding is thick. The pudding will not thicken up when it cools.
- Adding butter and vanilla extract. Remove from heat. Add butter and vanilla. Whisk to blend.
- Chocolate pudding in a small bowl. Pour into serving dishes.
- Chocolate pudding poured into a baked pie crust. For a pie, pour into a cooled and baked 9″ pie crust.
- Pie covered in plastic wrap. Cover with plastic wrap. Cool in the refrigerator for 4-6 hours or until firm.
- Whipped cream on top of the pudding pie. Top with chilled sweetened whipped cream.
Notes
- Make sure to whisk continuously to avoid lumps in the pudding.
- You can adjust the sweetness by tasting and adding more sugar if needed.
- Allow the pie to chill sufficiently for a perfectly set pudding texture.
Nutrition
- Serving Size: 1 serving
- Calories: 320
- Sugar: 30g
- Sodium: 300mg
- Fat: 12g
- Saturated Fat: 6g
- Unsaturated Fat: 4g
- Trans Fat: 0g
- Carbohydrates: 50g
- Fiber: 2g
- Protein: 5g
- Cholesterol: 20mg
Keywords: chocolate pudding, pie filling, dessert, easy recipe, homemade pudding

