
Strawberry Cheesecake Bites Recipe
Introduction
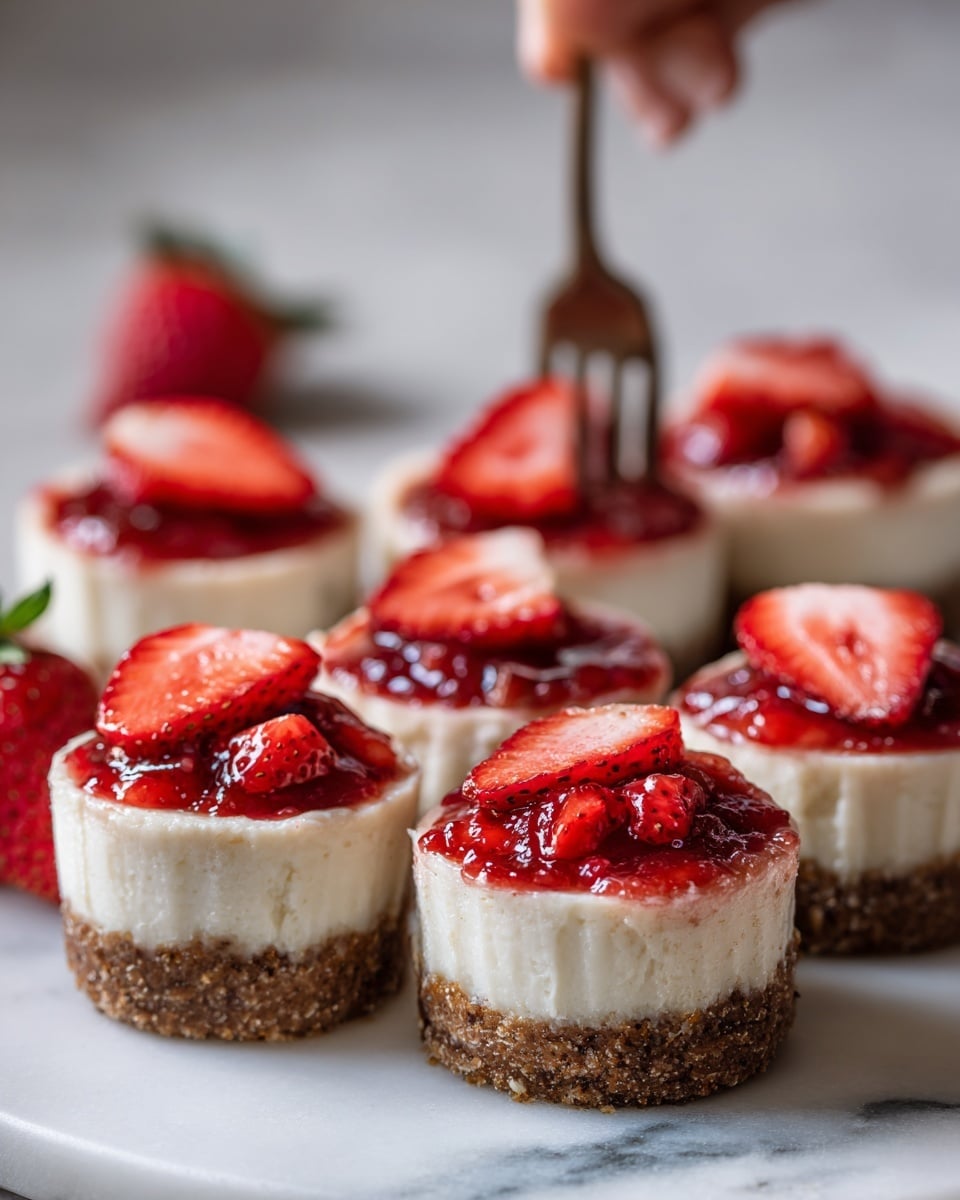
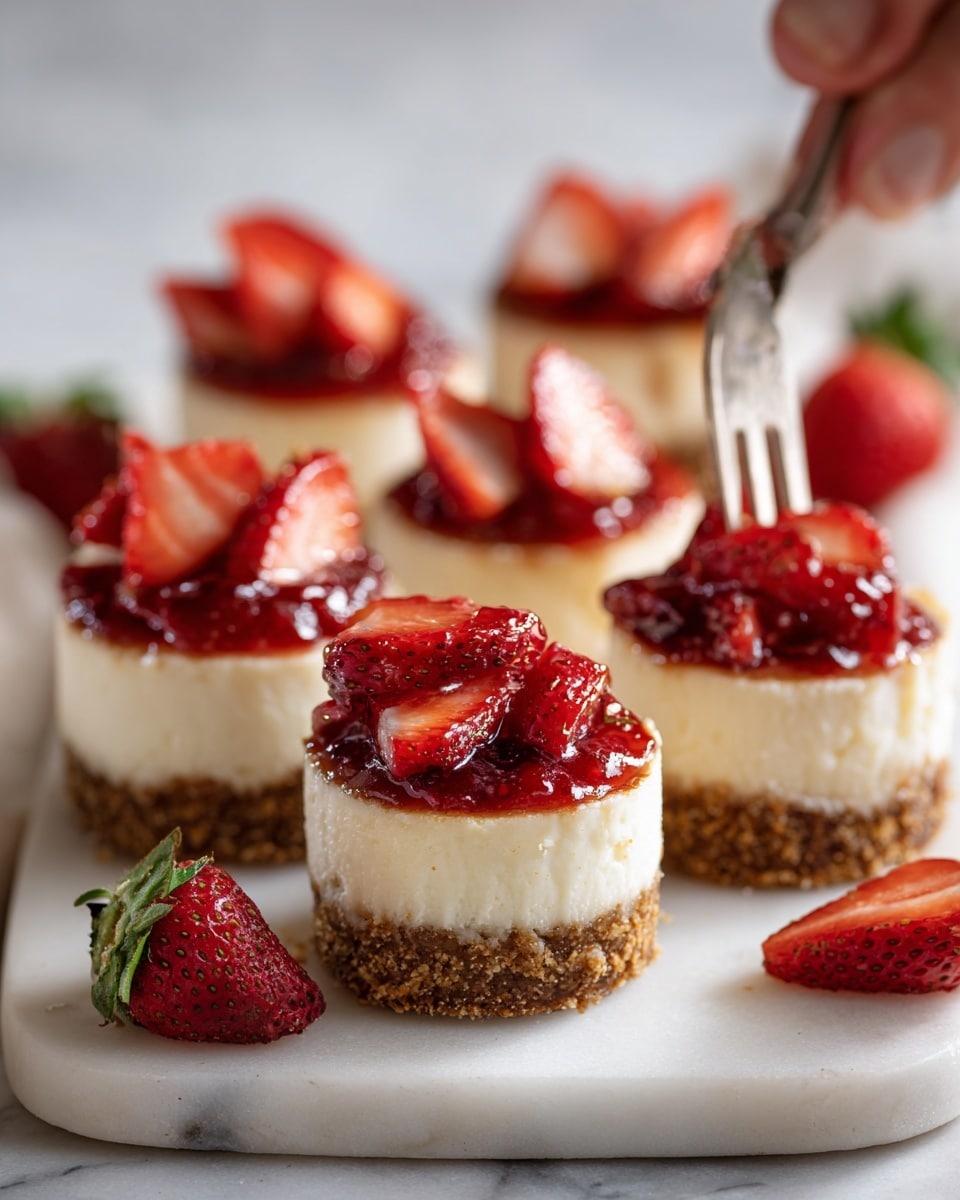
Strawberry Cheesecake Bites are a delightful, bite-sized treat that combines the creamy texture of cheesecake with the sweet flavor of strawberry cake mix, all coated in smooth chocolate. These no-bake dessert bites are perfect for parties or a special Valentine’s Day indulgence.
Ingredients
- 8 ounces cream cheese, softened
- 1 teaspoon fine sea salt
- 1 teaspoon clear vanilla extract
- 1 box (13.25 ounces) strawberry cake mix (dry)
- 12 ounces almond bark or pink melting wafers
- White chocolate, for drizzling (optional)
- Valentine’s Day festive sprinkles (optional)
Instructions
- Step 1: In a large mixing bowl, beat the softened cream cheese with an electric hand mixer or stand mixer fitted with a paddle attachment until smooth.
- Step 2: Add the sea salt and vanilla extract, mixing until combined.
- Step 3: Gradually add the dry strawberry cake mix and continue beating until the mixture is smooth but thick. It will be crumbly at first but will come together.
- Step 4: Cover the bowl and chill the mixture for at least 2 hours, preferably overnight, to firm up.
- Step 5: Line a baking sheet with parchment paper and set aside.
- Step 6: Melt the almond bark or pink melting wafers in 30-second intervals, stirring between each until smooth. You may also use a double boiler.
- Step 7: Using a 1 tablespoon cookie scoop, form balls from the chilled dough. Dip each ball into the melted chocolate using a toothpick or fork. Tap off excess chocolate and place the coated ball onto the prepared baking sheet.
- Step 8: If desired, sprinkle festive sprinkles onto the chocolate while it is still tacky. Repeat with the remaining dough.
- Step 9: Allow the chocolate to set. For a faster set, chill the baking sheet in the refrigerator for 10-15 minutes.
- Step 10: Optionally, drizzle melted white chocolate over the set bites for decoration.
Tips & Variations
- For a different flavor, try using a yellow or chocolate cake mix instead of strawberry.
- Substitute the almond bark with dark or milk chocolate for a richer coating.
- Use different colored sprinkles to match seasonal themes or celebrations.
- If the cream cheese is too cold, allow it to soften longer for easier mixing.
Storage
Store the cheesecake bites in an airtight container in the refrigerator. They will keep well for up to 5 days. When ready to serve, let them sit at room temperature for a few minutes to soften slightly. Leftovers should always be kept chilled.
How to Serve
Serve this delicious recipe with your favorite sides.
FAQs
Can I make these cheesecake bites ahead of time?
Yes, these bites can be made a day or two in advance and stored in the refrigerator until serving. The flavors meld nicely when chilled overnight.
Can I freeze the strawberry cheesecake bites?
While freezing is possible, it may affect the texture slightly. If freezing, place the bites in a single layer on a baking sheet until frozen, then transfer to an airtight container. Thaw in the refrigerator before serving.
PrintStrawberry Cheesecake Bites Recipe

Strawberry Cheesecake Bites combine creamy cheesecake flavor with the sweet, crumbly texture of strawberry cake mix, all dipped in rich almond bark or pink melting wafers. These bite-sized treats are perfect for Valentine’s Day or any festive occasion, offering a no-bake dessert option that’s easy to prepare, chill, and enjoy.
- Prep Time: 15 minutes
- Cook Time: 10 minutes (melting and coating)
- Total Time: 2 hours 25 minutes (including chilling time)
- Yield: Approximately 24 cheesecake bites 1x
- Category: Dessert
- Method: No-Cook
- Cuisine: American
- Diet: Vegetarian
Ingredients
Cheesecake Mixture
- 8 ounces cream cheese, softened
- 1 teaspoon fine sea salt
- 1 teaspoon clear vanilla extract
- 13.25 ounces strawberry cake mix (dry)
Coating and Decoration
- 12 ounces almond bark or pink melting wafers
- White chocolate, melted (optional, for drizzling)
- Valentine’s Day festive sprinkles (optional)
Instructions
- Beat the Cream Cheese: In a large mixing bowl, use an electric hand mixer or a stand mixer with a paddle attachment to beat the softened cream cheese until smooth and creamy. Add the fine sea salt and clear vanilla extract, mixing until fully combined.
- Add Cake Mix: Incorporate the dry strawberry cake mix into the cream cheese mixture. Continue beating until the batter is smooth and thick, though it might be crumbly at first before coming together as a dense dough.
- Chill the Mixture: Cover the bowl and refrigerate for at least 2 hours, preferably overnight, to allow the mixture to firm up for easier handling.
- Prepare the Baking Sheet: Line a baking sheet with parchment paper and set it aside, preparing a surface for the coated cheesecake bites.
- Melt the Coating: Melt the almond bark or pink melting wafers in 30-second intervals, stirring between each until completely smooth. Alternatively, melt using a double boiler for consistent heat and smooth texture.
- Form and Dip Bites: Using a 1-tablespoon cookie scoop, portion out the dense cheesecake dough into balls. With a toothpick or fork, dip each ball into the melted coating, tapping gently to smooth and remove excess chocolate before placing it carefully onto the prepared parchment paper.
- Add Sprinkles: While the coating is still tacky, sprinkle Valentine’s Day festive decorations on top if desired, to enhance appearance and add a festive touch.
- Set and Finish: Allow the chocolate coating to fully set at room temperature, or to speed up the process, chill the baking sheet for 10-15 minutes. Optionally, drizzle melted white chocolate over the bites before they completely set for added decoration.
- Store Properly: Keep finished strawberry cheesecake bites in an airtight container in the refrigerator. Leftovers should also be refrigerated to maintain freshness and texture.
- Share Your Experience: If you try this recipe, return to share your feedback and ratings to help others enjoy these delightful bites.
Notes
- Chilling the cheesecake dough overnight is ideal for easier handling and better texture.
- Use a toothpick or fork for dipping to avoid hands getting messy and to coat bites evenly.
- For best melting results, avoid overheating the almond bark or melting wafers to prevent seizing or burning.
- Customize with coloring or different sprinkles for holidays or special occasions.
- Store these bites in the refrigerator; they can last up to 5 days chilled.
Keywords: strawberry cheesecake bites, no bake cheesecake, valentines dessert, cream cheese dessert, cake mix dessert, dipped cheesecake bites


