
Colored Rice Krispie Treats Recipe
Introduction
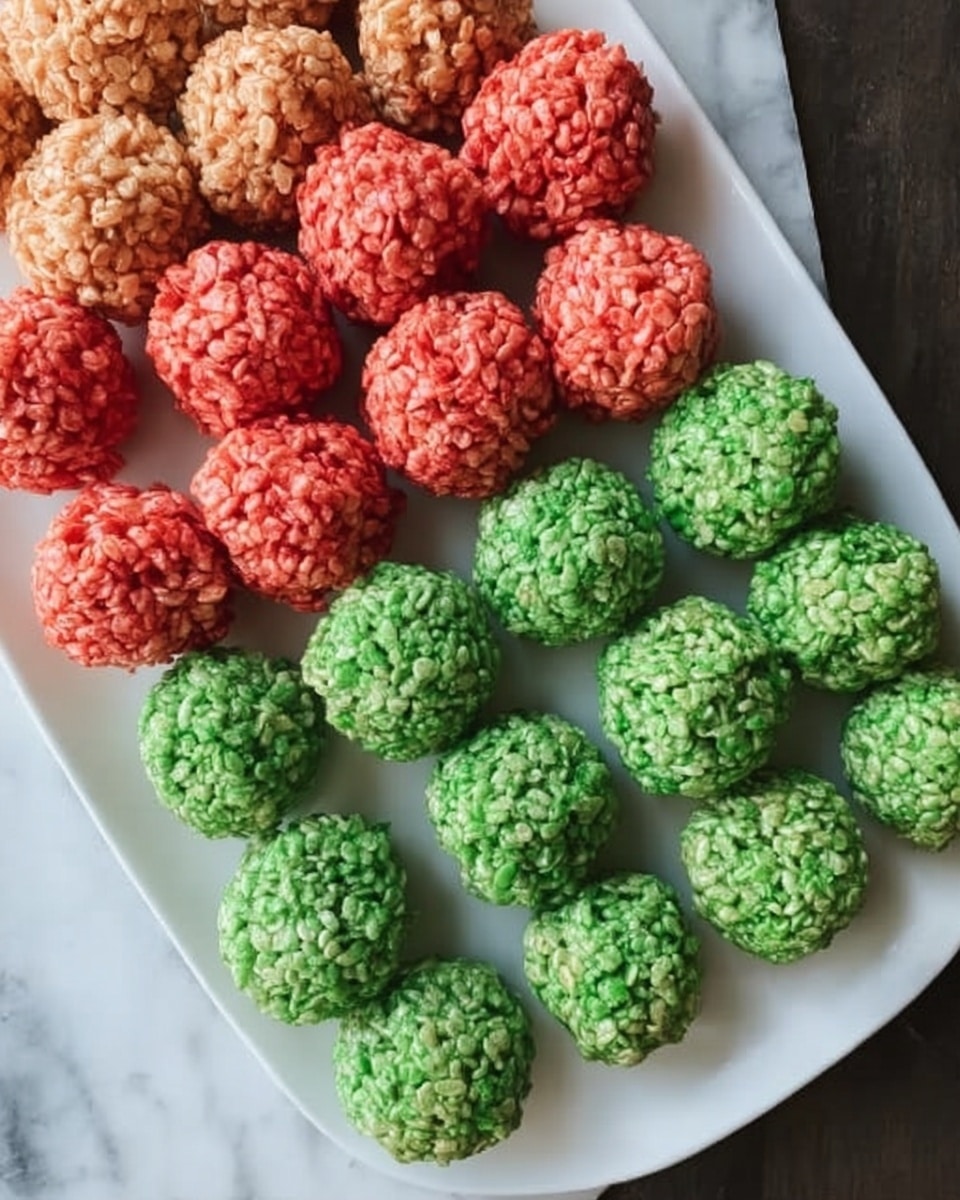
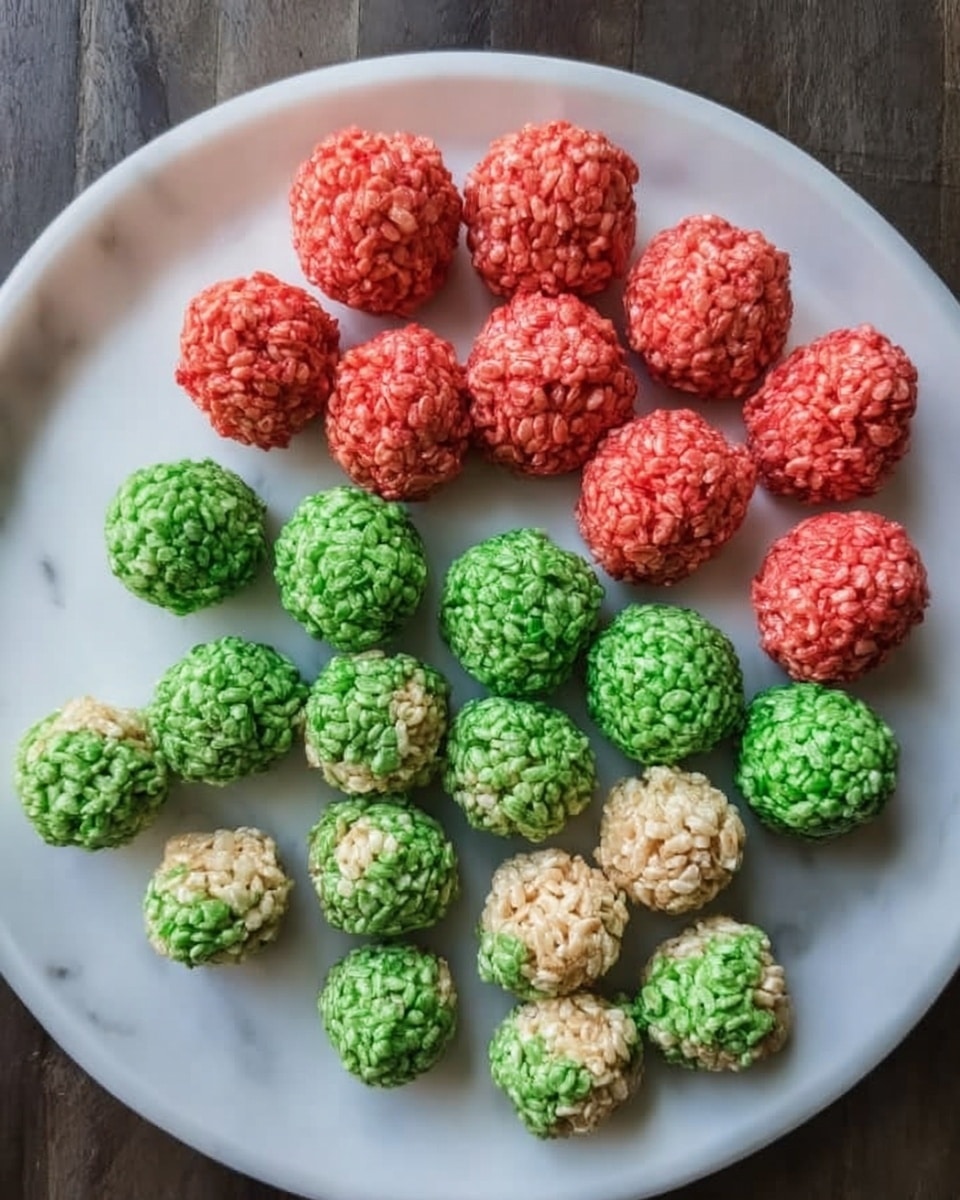
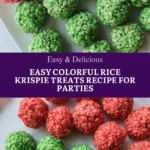
Colorful Rice Krispie Treats bring a fun twist to a classic favorite. With vibrant hues and a chewy texture, these treats are perfect for parties or anytime you want a playful, sweet snack.
Ingredients
- 12 oz. box Rice Krispies
- 2 10 oz. bags mini marshmallows
- 1 stick unsalted butter
- 1 tbsp vanilla extract
- Food coloring drops
Instructions
- Step 1: Heat the butter in a large non-stick saucepan over medium-low heat until fully melted.
- Step 2: Add one and a half bags of mini marshmallows along with the vanilla extract to the melted butter, stirring continuously.
- Step 3: Continue stirring until the marshmallows are completely melted and the mixture is smooth.
- Step 4: Add food coloring drops to the marshmallow mixture, stirring until you reach your desired color.
- Step 5: In a large bowl, combine the entire box of Rice Krispies with the remaining half bag of mini marshmallows, tossing to mix evenly.
- Step 6: Pour the colored marshmallow and butter mixture over the Rice Krispies, carefully folding until everything is well coated.
- Step 7: Press the colored mixture into a large sheet pan or shape into fun forms as you prefer.
- Step 8: Allow the treats to cool completely before cutting and serving.
Tips & Variations
- Use gel food coloring for more vibrant colors without adding extra liquid.
- Add sprinkles or edible glitter after pressing the treats for extra festive flair.
- Try mixing different colors in separate batches and layer them for a rainbow effect.
- For an extra chewy texture, add a bit of corn syrup to the melted marshmallow mixture.
Storage
Store the Rice Krispie Treats in an airtight container at room temperature for up to 3 days. For longer storage, keep them in the refrigerator for up to a week. To refresh slightly stale treats, warm them gently in the microwave for 10–15 seconds before serving.
How to Serve
Serve this delicious recipe with your favorite sides.
FAQs
Can I use regular marshmallows instead of mini marshmallows?
Yes, you can use regular marshmallows. Just chop them into smaller pieces to help them melt evenly.
Will the color bleed or fade over time?
The color should remain vibrant if stored properly, but some fading may occur if exposed to air for extended periods. Using gel food coloring can help maintain bright colors longer.
PrintColored Rice Krispie Treats Recipe
These Colored Rice Krispie Treats offer a vibrant twist on the classic marshmallow and cereal snack. Combining the buttery melted marshmallows with customizable food coloring, this easy recipe produces a fun, chewy treat perfect for parties or a colorful family dessert. They come together quickly and yield 16 delightful servings.
- Prep Time: 5 minutes
- Cook Time: 15 minutes
- Total Time: 20 minutes
- Yield: 16 servings 1x
- Category: Dessert
- Method: Stovetop
- Cuisine: American
Ingredients
Main Ingredients
- 12 oz. box Rice Krispies cereal
- 2 (10 oz.) bags mini marshmallows
- 1 stick unsalted butter
- 1 tbsp vanilla extract
- Food coloring drops (as desired)
Instructions
- Melt Butter: Heat one stick of unsalted butter in a large non-stick saucepan over medium-low heat until completely melted, taking care not to brown the butter.
- Add Marshmallows and Vanilla: Stir in one and a half bags of mini marshmallows along with the tablespoon of vanilla extract.
- Stir Until Melted: Continue stirring the mixture gently until the marshmallows are fully melted and combined with the butter and vanilla, forming a smooth, sticky mixture.
- Add Food Coloring: Add food coloring drops incrementally to the melted marshmallow mixture until you achieve your desired color, mixing well to incorporate evenly.
- Mix Cereal and Marshmallows: In a large bowl, combine the entire box of Rice Krispies cereal and the remaining half bag of mini marshmallows by tossing together.
- Combine Colored Mixture with Cereal: Pour the colored marshmallow and butter mixture over the Rice Krispies and marshmallows, gently folding with a spatula or spoon until all the cereal is evenly coated without crushing it.
- Shape the Treats: Press the mixture evenly into a large sheet pan or mold them into fun shapes using your hands or cookie cutters, ensuring they are compacted to hold together.
- Cool and Set: Let the shaped Rice Krispie treats cool at room temperature until firm and set before slicing and serving.
Notes
- Use a large non-stick pan to prevent the marshmallows from sticking and burning.
- Work quickly once marshmallows are melted as they can harden fast when cooling.
- For a more intense color, add food coloring gradually rather than all at once.
- Press the treats firmly into the pan to help them hold shape but avoid over-compressing to keep a light texture.
- Store leftover treats in an airtight container at room temperature to maintain freshness for up to 3 days.
Keywords: colored Rice Krispie treats, marshmallow treats, easy dessert, colorful snacks, kid-friendly dessert

