
Perfect Sushi Rice Recipe
Introduction
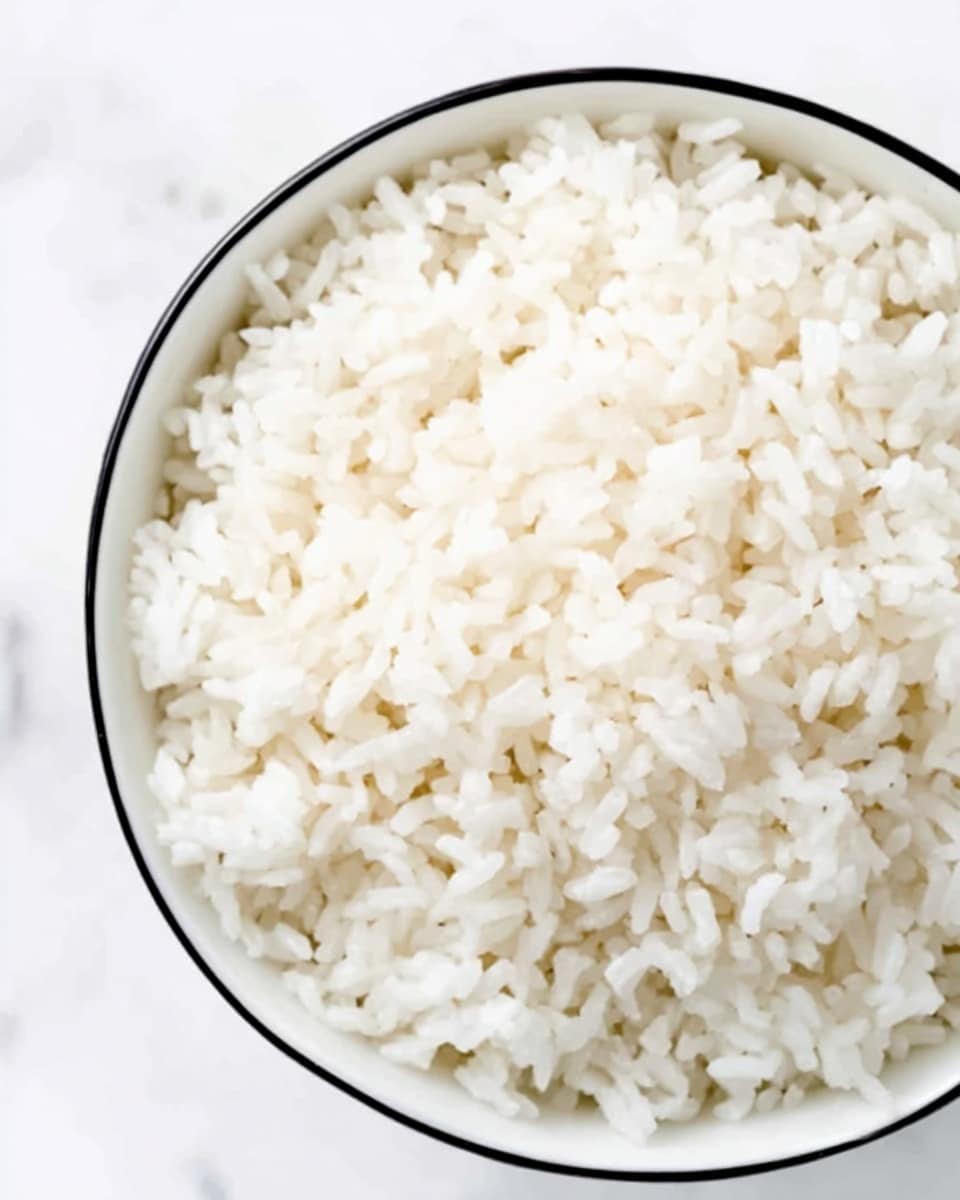
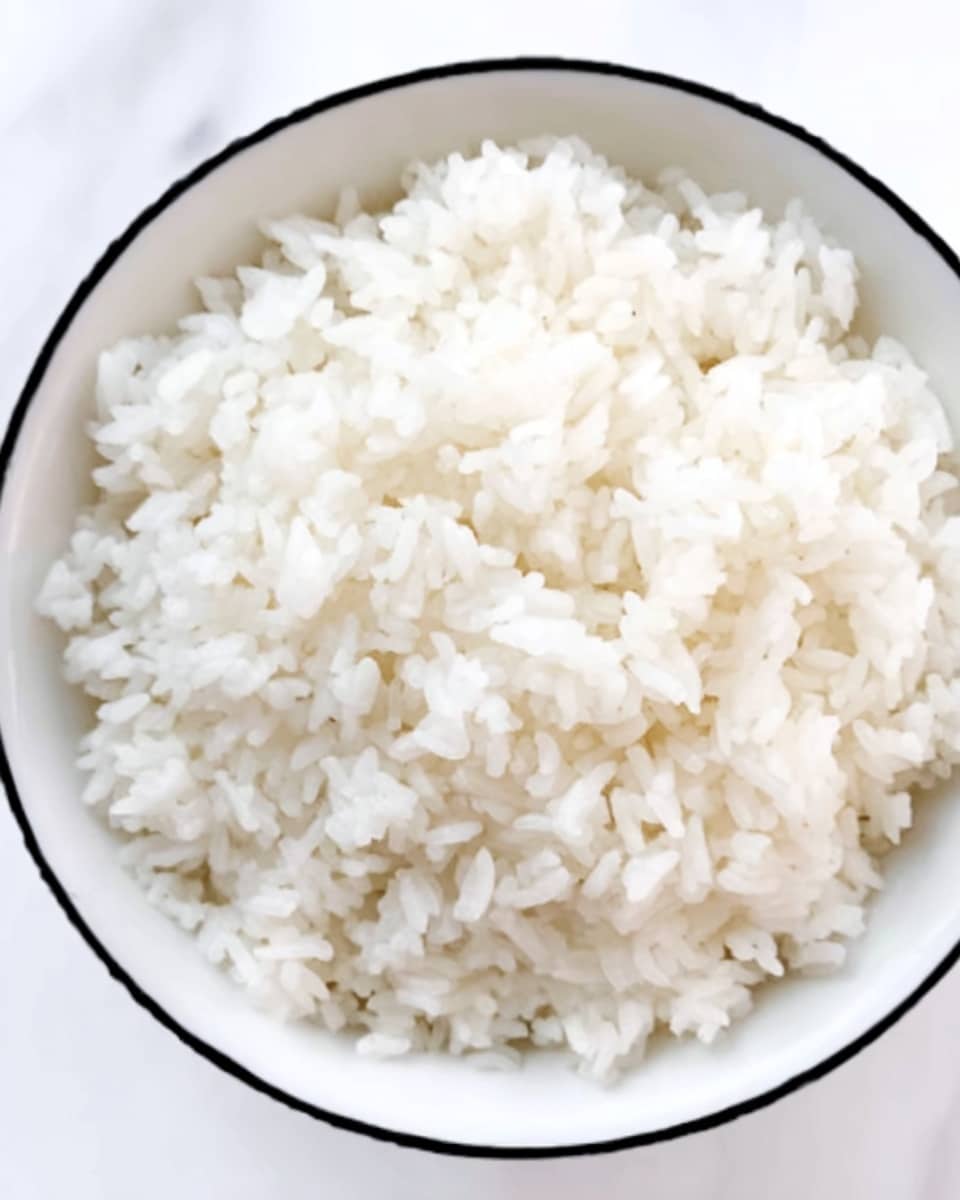
Sushi rice is the perfect foundation for making delicious sushi at home. This recipe will guide you through preparing traditional Japanese short-grain rice seasoned with a tangy vinegar mixture, resulting in sticky, flavorful rice ideal for rolls and nigiri.
Ingredients
- 2 cups Japanese short-grain rice (“sushi rice”)
- 2 cups water
- 4-inch square of kombu (optional)
- 1/4 cup unseasoned rice vinegar
- 4 teaspoons sugar (or honey)
- 1 teaspoon fine sea salt
Instructions
- Step 1: Rinse the rice with cold water in a large fine mesh strainer for 1–2 minutes, or until the water runs very clear. Drain well.
- Step 2: Cook the rice using your preferred method—on the stovetop, in a rice cooker, or in the Instant Pot. Add the kombu during cooking if using.
- Step 3: While the rice cooks, combine the rice vinegar, sugar (or honey), and sea salt in a small saucepan. Heat over medium-high until it nearly simmers, then remove from heat and whisk until the sugar dissolves. Alternatively, heat mixture in the microwave.
- Step 4: When the rice is done, transfer it immediately to a large mixing bowl. Drizzle the sushi vinegar evenly over the rice.
- Step 5: Gently fold the rice with a spatula using a slicing and lifting motion to evenly incorporate the vinegar without crushing the grains.
- Step 6: Cover the bowl with a damp towel touching the rice surface to prevent drying. Let the rice cool to room temperature on the counter or in the refrigerator.
- Step 7: Use the sushi rice immediately for your favorite recipes or store it in an airtight container in the fridge.
Tips & Variations
- Use honey instead of sugar for a subtle, natural sweetness.
- Adding kombu while cooking enhances umami flavor but can be omitted if unavailable.
- Gently folding the rice preserves the grains’ texture; avoid stirring vigorously.
Storage
Store sushi rice in an airtight container in the refrigerator for up to 3 days. When ready to use, bring it to room temperature before assembling sushi. Avoid freezing, as it changes the texture.
How to Serve
Serve this delicious recipe with your favorite sides.
FAQs
Can I use regular long-grain rice for sushi rice?
For authentic sushi texture, short-grain Japanese rice is best because it is sticky and holds together well. Long-grain rice is less sticky and not recommended for sushi.
Do I need to season the rice immediately after cooking?
Yes, seasoning the rice while it is still warm ensures the vinegar mixture is absorbed evenly, enhancing the flavor and texture.
PrintPerfect Sushi Rice Recipe
Classic Japanese sushi rice recipe featuring perfectly cooked short-grain rice seasoned with a balanced sushi vinegar mixture of rice vinegar, sugar, and sea salt. This foundational recipe guides you through rinsing, cooking, seasoning, and cooling sushi rice to achieve the ideal texture and flavor for making sushi at home.
- Prep Time: 10 minutes
- Cook Time: 25 minutes
- Total Time: 35 minutes
- Yield: 4 servings 1x
- Category: Side Dish
- Method: Stovetop
- Cuisine: Japanese
Ingredients
Sushi Rice
- 2 cups Japanese short-grain rice (“sushi rice”)
- 2 cups water
- 4-inch square of kombu (optional)
Sushi Vinegar
- 1/4 cup unseasoned rice vinegar
- 4 teaspoons sugar (or honey)
- 1 teaspoon fine sea salt
Instructions
- Rinse the rice: Rinse the rice with cold water in a large fine mesh strainer for 1-2 minutes, or until the water runs very clear. Drain well to remove excess starch for optimal texture.
- Cook the rice: Cook the rinsed rice with 2 cups of water. You can use your preferred method such as stovetop, rice cooker, or Instant Pot, ensuring the rice is tender but not mushy. Optionally add a 4-inch square of kombu for subtle umami flavor during cooking.
- Make the sushi vinegar: While the rice cooks, combine rice vinegar, sugar, and sea salt in a small saucepan. Heat over medium-high heat until the mixture nearly simmers, then remove from heat and whisk until sugar dissolves. Alternatively, warm and mix in the microwave.
- Season the rice: Once the rice is cooked, immediately transfer it to a large bowl. Drizzle the sushi vinegar evenly over the hot rice. Use a spatula to gently fold the rice with a slicing and lifting motion to evenly distribute the vinegar without smashing the grains.
- Cool the rice: Cover the bowl with a damp towel touching the surface of the rice to prevent drying out. Let the rice cool to room temperature on the counter or in the refrigerator.
- Serve or store: Use the sushi rice immediately in your sushi recipes, or transfer it to an airtight container and refrigerate for up to 3 days.
Notes
- Rinsing the rice thoroughly removes excess starch and prevents clumping.
- Kombu is optional but adds a subtle depth of flavor.
- You can cook sushi rice using a stovetop pot, rice cooker, or Instant Pot. Follow the appliance-specific instructions for best results.
- When mixing in the vinegar, a gentle folding motion keeps rice grains intact.
- Covering the rice with a damp towel while cooling prevents it from drying out.
- Best used fresh but can be refrigerated for up to three days.
Keywords: sushi rice, Japanese rice, sushi vinegar, short-grain rice, sushi preparation, rice seasoning


