
Mini Creme Brulee Cheesecakes: Easy Indulgence at Home Recipe
Introduction
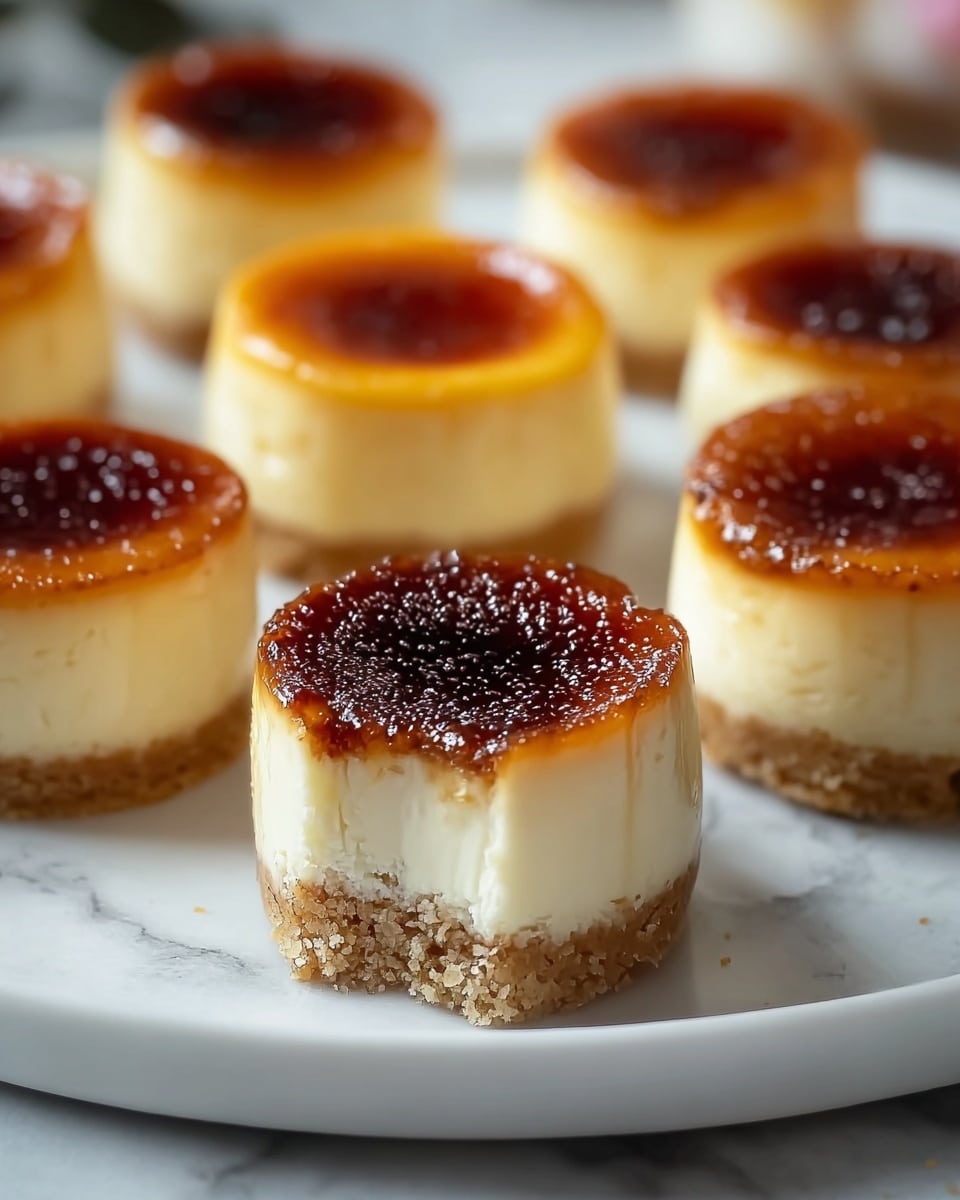
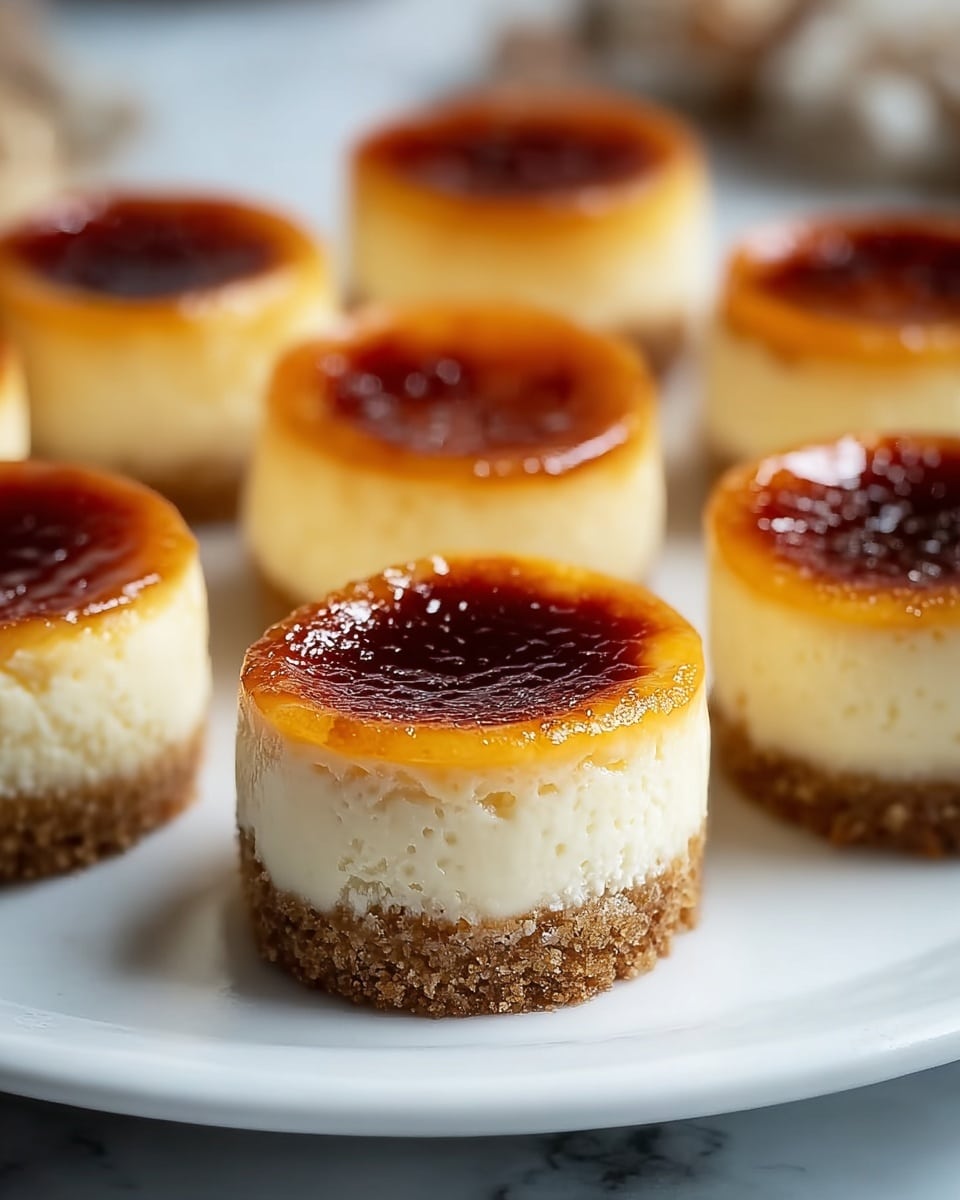
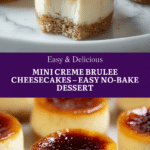
These Mini Creme Brulee Cheesecakes offer an indulgent treat that’s perfect for any occasion. Combining a creamy cheesecake filling with a crisp caramelized sugar topping, they are easy to make and sure to impress.
Ingredients
- 1 cup Graham Cracker Crumbs (Or crushed digestive biscuits for a new twist.)
- 2 tablespoons Granulated Sugar (Brown sugar can be used for a deeper flavor.)
- 5 tablespoons Unsalted Butter (Melted; consider coconut oil for a dairy-free option.)
- 8 ounces Cream Cheese (Softened for easy mixing.)
- 1/2 cup Powdered Sugar (Granulated sugar can be substituted.)
- 1 teaspoon Vanilla Extract (Or vanilla bean paste for a richer flavor.)
- 1 cup Heavy Whipping Cream (Whipped coconut cream serves as a dairy-free substitute.)
- 2 tablespoons Extra Granulated Sugar (Ensure it is fine for even melting.)
Instructions
- Step 1: In a mixing bowl, combine the graham cracker crumbs, granulated sugar, and melted butter until well mixed and resembles wet sand.
- Step 2: Take a muffin tin lined with cupcake liners and firmly press the crumb mixture into the bottom of each cup to create a sturdy base.
- Step 3: Refrigerate the crust for about 15 minutes to allow it to set.
- Step 4: In another bowl, beat the softened cream cheese and powdered sugar together until smooth and creamy. Stir in the vanilla extract.
- Step 5: In a separate bowl, whip the heavy cream until stiff peaks form. Gently fold this whipped cream into the cream cheese mixture.
- Step 6: Spoon or pipe the cheesecake filling into the chilled crusts, filling them generously to the top.
- Step 7: Cover the filled cups and refrigerate for at least 3 hours, or overnight if possible.
- Step 8: Once chilled, sprinkle an even layer of extra granulated sugar over the filling and caramelize using a kitchen torch.
- Step 9: Allow the cheesecakes to cool for a few minutes before serving.
Tips & Variations
- Use crushed digestive biscuits instead of graham crackers for a different flavor base.
- Swap brown sugar for granulated sugar in the crust for a richer taste.
- Try coconut oil instead of butter to make these cheesecakes dairy-free.
- Use whipped coconut cream as a substitute for heavy whipping cream for a vegan version.
- For an even caramelization, ensure your sugar is finely granulated before torching.
Storage
Store these mini cheesecakes covered in the refrigerator for up to 3 days. The caramelized sugar topping is best enjoyed fresh but can be redone with extra sugar and a kitchen torch before serving if it softens. To reheat, allow the cheesecakes to come to room temperature for about 15 minutes if desired. Avoid microwaving as it can melt the topping and soften the dessert too much.
How to Serve
Serve this delicious recipe with your favorite sides.
FAQs
Can I make these cheesecakes ahead of time?
Yes, these mini cheesecakes benefit from chilling overnight to set properly. Just wait to caramelize the sugar topping until just before serving for the best texture.
What if I don’t have a kitchen torch to caramelize the sugar?
You can place the cheesecakes under a hot broiler for a minute or two to caramelize the sugar, but watch carefully to prevent burning. A torch gives the most control and best results.
PrintMini Creme Brulee Cheesecakes: Easy Indulgence at Home Recipe
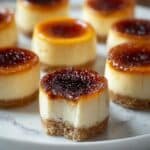
These Mini Creme Brulee Cheesecakes offer an easy yet indulgent dessert option that combines a buttery graham cracker crust with a smooth and creamy cheesecake filling. Finished with a classic caramelized sugar topping using a kitchen torch, these bite-sized treats are perfect for parties or anytime you want a sophisticated sweet treat at home.
- Prep Time: 15 minutes
- Cook Time: 0 minutes
- Total Time: 3 hours 30 minutes
- Yield: 12 servings 1x
- Category: Dessert
- Method: No-Cook
- Cuisine: American
Ingredients
Crust Ingredients
- 1 cup Graham Cracker Crumbs (Or crushed digestive biscuits for a new twist)
- 2 tablespoons Granulated Sugar (Brown sugar can be used for a deeper flavor)
- 5 tablespoons Unsalted Butter (Melted; consider coconut oil for a dairy-free option)
Cheesecake Filling Ingredients
- 8 ounces Cream Cheese (Softened for easy mixing)
- 1/2 cup Powdered Sugar (Granulated sugar can be substituted)
- 1 teaspoon Vanilla Extract (Or vanilla bean paste for a richer flavor)
- 1 cup Heavy Whipping Cream (Whipped coconut cream serves as a dairy-free substitute)
Topping
- 2 tablespoons Extra Granulated Sugar (Ensure it is fine for even melting)
Instructions
- Prepare the Crust: In a mixing bowl, combine the graham cracker crumbs, granulated sugar, and melted butter until the mixture resembles wet sand, ensuring all crumbs are evenly coated.
- Form the Crusts: Line a muffin tin with cupcake liners, then firmly press the crumb mixture into the bottom of each liner to create a sturdy base that will hold the cheesecake filling well.
- Chill the Crusts: Place the muffin tin in the refrigerator for about 15 minutes to allow the crusts to set and solidify slightly.
- Make the Filling: In a separate bowl, beat the softened cream cheese and powdered sugar together until the mixture is smooth and creamy. Stir in the vanilla extract thoroughly for flavor.
- Whip the Cream: In another bowl, whip the heavy cream until stiff peaks form, then gently fold it into the cream cheese mixture to create a light and airy filling.
- Fill the Cheesecakes: Spoon or pipe the cheesecake filling into the chilled crusts, filling each cup generously to the top to ensure a rich dessert experience.
- Refrigerate the Cheesecakes: Cover the filled muffin tin and refrigerate for at least 3 hours, or preferably overnight, to let the cheesecakes fully set and develop flavor.
- Caramelize the Sugar Topping: Once chilled, sprinkle an even layer of the extra granulated sugar over the top of each cheesecake. Use a kitchen torch to caramelize the sugar until golden and crisp, replicating the classic creme brulee finish.
- Cool and Serve: Allow the caramelized topping to cool and harden for a few minutes before serving these elegant mini cheesecakes to your guests.
Notes
- You can substitute digestive biscuits for the graham cracker crumbs for a slightly different flavor.
- Brown sugar instead of granulated sugar in the crust adds a richer taste.
- For a dairy-free version, use coconut oil instead of butter and whipped coconut cream instead of heavy cream.
- Using a kitchen torch ensures an even, crisp caramelized topping; avoid using a broiler to prevent melting the filling.
- Refrigeration time can be extended overnight for best texture and flavor development.
Keywords: mini cheesecake, creme brulee cheesecake, no bake cheesecake, easy desserts, bite-sized cheesecake, holiday desserts
