
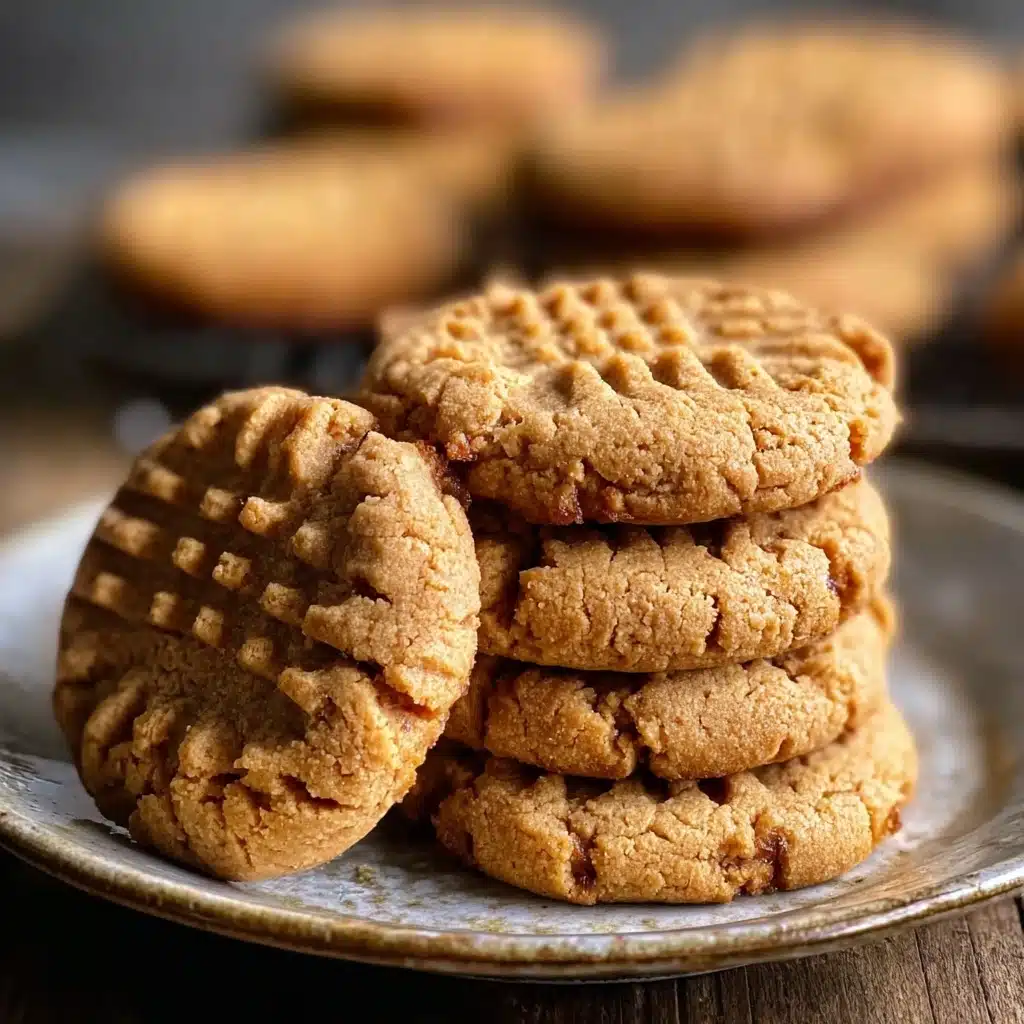
Classic Peanut Butter Cookies Recipe
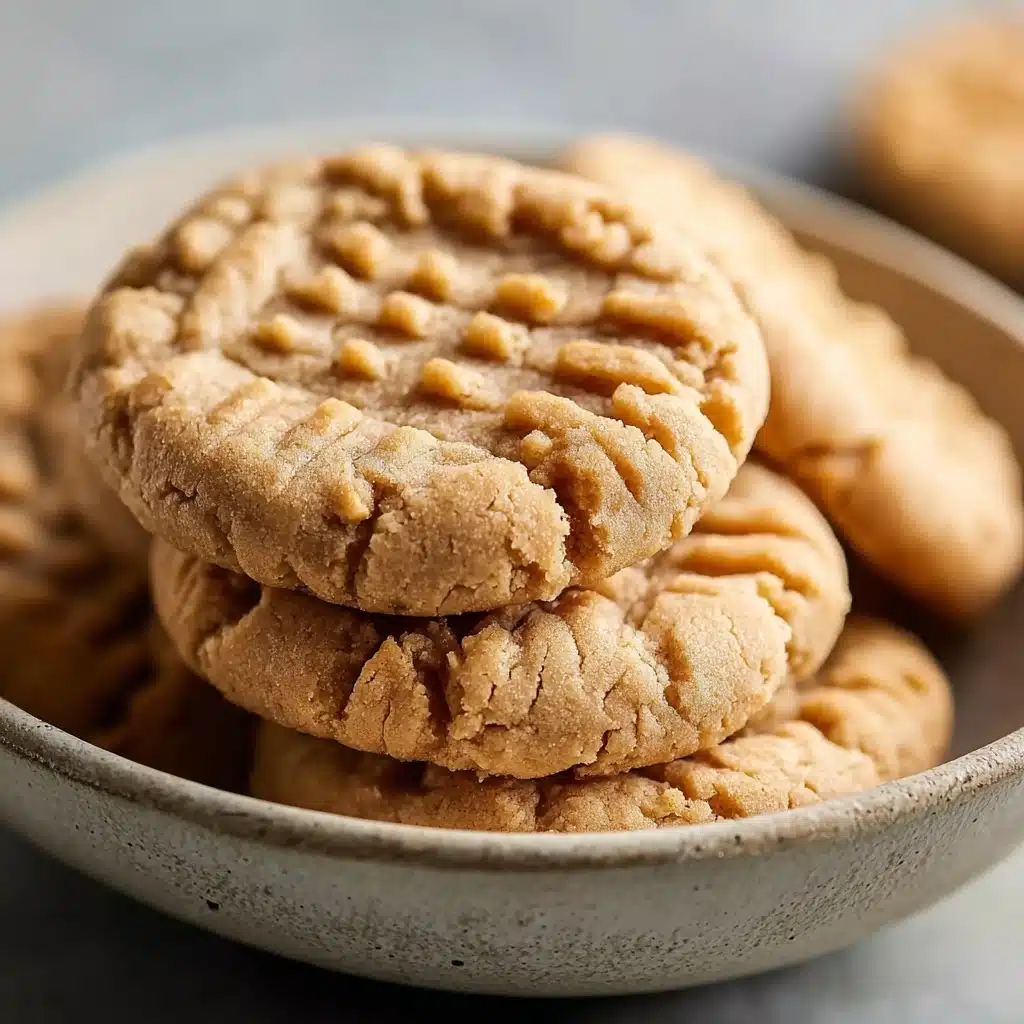
If ever there was a treat that combines nostalgia, comfort, and that irresistible sweet-salty bite, it’s Classic Peanut Butter Cookies. Each cookie brings together a soft chewy center, crisp golden edges, and the unmistakable aroma of peanut butter that fills your kitchen as they bake. Whether you’re filling a cookie jar for the week or sharing a plateful at a get-together, this recipe promises a crowd-pleaser that’s as easy to whip up as it is to devour.
Ingredients You’ll Need
Gather your baking staples—each ingredient here is simple but deeply important in shaping the flavor and signature texture of Classic Peanut Butter Cookies. Choosing quality and measuring carefully turns these everyday pantry items into a batch of cookies everyone will rave about.
- Peanut Butter: The star of the show! Select creamy for a melt-in-your-mouth texture or crunchy for those delightful peanut bits, one cup needed.
- Granulated Sugar: Essential for sweetness and crisp edges; use one cup to strike the perfect sweet-savory balance.
- Brown Sugar: Adds rich, caramel undertones and helps keep the cookies extra-soft—don’t skip the half cup, packed tightly.
- Egg: Just one large egg binds everything, adding structure while keeping the flavor lush and full.
- All-Purpose Flour: The foundation for the dough; one cup delivers the perfect cookie consistency—be sure to measure accurately!
- Baking Soda: One teaspoon gives lift and a lighter bite, helping the cookies rise to just the right thickness.
- Salt: Half a teaspoon is all you need to make the other flavors sing without creating a salty cookie.
How to Make Classic Peanut Butter Cookies
Step 1: Preheat Your Oven
Before you touch a mixing spoon, set your oven to 350°F (175°C). Taking a minute to preheat ensures every batch bakes evenly, resulting in those irresistible golden edges with gooey centers. While your oven comes to temperature, lay parchment paper or silicone baking mats on your cookie sheets—this little prep step guarantees effortless cleanup and perfectly released cookies.
Step 2: Mix Wet Ingredients
Time to build the base flavor! In your largest mixing bowl, combine one cup of your favorite peanut butter (creamy or crunchy), one cup of granulated sugar, and half a cup of packed brown sugar. Use an electric mixer or a sturdy spoon to beat until smooth and creamy—about two minutes does the trick. Add one large egg, and, if you’re feeling a little extra, a splash of vanilla extract to boost the aroma. Mix again until everything’s perfectly blended and glossy.
Step 3: Combine Dry Ingredients
Grab another bowl and whisk together one cup of all-purpose flour, one teaspoon of baking soda, and half a teaspoon of salt. Stirring these together beforehand keeps you from having little pockets of unblended dry ingredients later. Now, add the dry mix into the creamy peanut butter mixture, folding gently with a spatula or wooden spoon until you can’t see any more flour—stop there to keep the cookies tender and chewy!
Step 4: Portion Out Dough
With your dough mixed, it’s time for a little hands-on fun. Use a tablespoon or a cookie scoop to portion out small dough balls. Roll each one between your palms until smooth, then set them onto your prepared sheets, spaced about two inches apart. Remember, these Classic Peanut Butter Cookies will spread as they bake, so give them a little breathing room! For that signature crosshatch, press gently with a fork before baking.
Step 5: Bake Your Cookies
This is the moment where your kitchen fills with pure bliss. Slide the baking sheets into your preheated oven and bake for 10–12 minutes, watching for lightly golden edges and centers that still look a touch soft (they’ll finish firming up out of the oven). Let the cookies cool on the sheet for a few minutes to set before moving them to a wire rack to finish cooling—if you can resist sneaking one warm, you’re stronger than I am!
How to Serve Classic Peanut Butter Cookies
Garnishes
There’s nothing quite like the humble beauty of a fresh Classic Peanut Butter Cookie, but a few easy garnishes can make them extra special. Try a scattering of chopped peanuts, a drizzle of melted chocolate, or even a sprinkle of flaky sea salt while they’re still warm from the oven. It’s a surefire way to add visual appeal and boost that irresistible peanutty flavor.
Side Dishes
Cookies and milk are a classic for a reason! Serve your Classic Peanut Butter Cookies alongside an ice-cold glass of milk, or up the ante with a latte, hot cocoa, or chai. For something a little outside the box, pair these cookies with fresh fruit slices or a spoonful of vanilla Greek yogurt for a balanced snack plate that both kids and adults will love.
Creative Ways to Present
Want to wow guests or add a touch of celebration? Stack the cookies in a glass jar and tie a ribbon around the lid, or arrange them on a cake stand interspersed with chocolate truffles and fresh berries. For an interactive treat, sandwich a scoop of vanilla ice cream between two Classic Peanut Butter Cookies and roll the edges in chopped nuts or sprinkles—cookie ice cream sandwiches never go out of style!
Make Ahead and Storage
Storing Leftovers
One of the best things about Classic Peanut Butter Cookies (aside from how delicious they are) is how well they keep. Store leftover cookies in an airtight container at room temperature; they’ll stay soft and chewy for up to a week. To maintain freshness, tuck a slice of sandwich bread into the container—the cookies absorb the moisture and stay bakery-fresh longer.
Freezing
If you want to enjoy homemade cookies on demand, freezing is your best friend. You can freeze the dough after portioning for up to three months—just flash freeze the dough balls on a baking sheet then transfer to a freezer bag. Or freeze baked Classic Peanut Butter Cookies once completely cooled. When the craving hits, bake straight from the freezer (add 1–2 extra minutes) or thaw cookies at room temperature as needed.
Reheating
Breathe new life into cookies that have lost their softness! Pop a Classic Peanut Butter Cookie in the microwave for 8–10 seconds for that warm, just-baked feel, or refresh larger batches in a 300°F oven for 2–3 minutes. Either way, your cookies will be soft, dreamy, and irresistible once again.
FAQs
Can I use natural peanut butter in Classic Peanut Butter Cookies?
Absolutely! Natural peanut butter works, but you may notice the dough is a bit looser or more oily. Make sure to stir the peanut butter very well before measuring and be prepared for a slightly different (but still delicious) texture with a more pronounced peanut flavor.
Why do my Classic Peanut Butter Cookies sometimes come out dry?
Dry cookies are usually from over-measuring flour or overbaking. Gently spoon flour into your measuring cup and level it off for best results, and keep a close eye on the oven—pull the cookies as soon as the edges are golden and the centers look just set.
Can I add chocolate chips or other mix-ins?
Go for it! Fold in up to a cup of chocolate chips, chopped peanuts, or bits of toffee after mixing the dough. Just be sure not to overload the dough, or you may affect the classic chewy, dense texture.
Do I have to chill the dough before baking?
Nope! This Classic Peanut Butter Cookies recipe doesn’t require chilling—that’s part of what makes it so quick and easy. If your kitchen is particularly warm, a quick 10-minute fridge rest can help, but generally you can bake the cookies right away and they’ll come out beautifully.
How do I get those perfect fork marks on Classic Peanut Butter Cookies?
Simply roll your dough balls, then use a fork to gently press down in one direction, and then again in the opposite direction to create a crosshatch pattern. Not only does it add the classic look, but it helps the cookies bake evenly and ensures that tender, chewy middle with crisp edges.
Final Thoughts
If you’re looking for an easy, foolproof crowd-pleaser or want to recreate a bit of childhood magic in your kitchen, Classic Peanut Butter Cookies deliver every time. Gather your ingredients, let that baking aroma waft through your home, and savor every rich, chewy bite—you’ll be hooked after the very first batch!
PrintClassic Peanut Butter Cookies Recipe

Learn how to make the perfect Classic Peanut Butter Cookies with this easy recipe. These cookies are a delightful combination of sweet and savory, with a crispy edge and a soft, chewy center that will have you reaching for more!
- Prep Time: 15 minutes
- Cook Time: 10-12 minutes
- Total Time: 25-27 minutes
- Yield: 24 cookies 1x
- Category: Dessert
- Method: Baking
- Cuisine: American
- Diet: Vegetarian
Ingredients
Peanut Butter
- 1 cup creamy or crunchy peanut butter
Granulated Sugar
- 1 cup granulated sugar
Brown Sugar
- 1/2 cup packed brown sugar
Eggs
- 1 large egg
All-Purpose Flour
- 1 cup all-purpose flour
Baking Soda
- 1 teaspoon baking soda
Salt
- 1/2 teaspoon salt
Instructions
- Step 1: Preheat Your Oven
Preheat oven to 350°F (175°C) and line baking sheets with parchment paper. - Step 2: Mix Wet Ingredients
Combine peanut butter, granulated sugar, brown sugar, egg, and vanilla extract until smooth. - Step 3: Combine Dry Ingredients
Whisk flour, baking soda, and salt; fold into wet mixture. - Step 4: Portion Out Dough
Roll tablespoon-sized dough portions and place on baking sheets. - Step 5: Bake Your Cookies
Bake at 350°F (175°C) for 10-12 minutes until golden brown.
Notes
- Ensure egg is at room temperature for better emulsification.
- Do not overmix the dough to keep the cookies soft and chewy.
Nutrition
- Serving Size: 1 cookie
- Calories: 140
- Sugar: 10g
- Sodium: 115mg
- Fat: 8g
- Saturated Fat: 2g
- Unsaturated Fat: 5g
- Trans Fat: 0g
- Carbohydrates: 15g
- Fiber: 1g
- Protein: 3g
- Cholesterol: 10mg
Keywords: Peanut Butter Cookies, Classic Cookies, Homemade Cookies