Kkwabaegi Recipe
If you’re craving a charming blend of nostalgia, comfort, and irresistible sweetness, let me introduce you to Kkwabaegi, the iconic Korean twisted donut. Kkwabaegi is a fun, sugar-dusted treat that’s soft on the inside, golden-crisp on the outside, and beautifully twisted—making each bite a playful mix of pillowy and crunchy perfection. Whether you’re new to Korean pastries or you’ve savored these at street carts before, you’ll find homemade Kkwabaegi not only easy to make but impossible to resist.
Ingredients You’ll Need
The ingredients for these delightful twisted donuts are simple, but don’t underestimate their magic. Each ingredient plays an important role, lending essential softness, flavor, or structure to the final Kkwabaegi—so gather them fresh, and enjoy the process!
- Lukewarm milk: This activates the yeast and starts the dough with rich flavor and tenderness.
- Instant dry yeast: Yeast helps the dough rise and gives a wonderfully airy texture.
- Plain sugar: Sweetens the dough and creates that signature sugary coating.
- Large egg: Adds color, richness, and helps bind the dough together.
- Fine salt: Balances the sweetness and deepens the overall flavor.
- Bread flour: Provides the chewy, fluffy structure for the twisted donuts.
- Butter (room temperature): Gives a soft, tender crumb with rich flavor.
- Vegetable oil (for frying): Delivers that perfect golden crust and a light, crisp exterior.
- Ground cinnamon & plain sugar: A sweet-and-spicy finishing dust that makes Kkwabaegi truly shine.
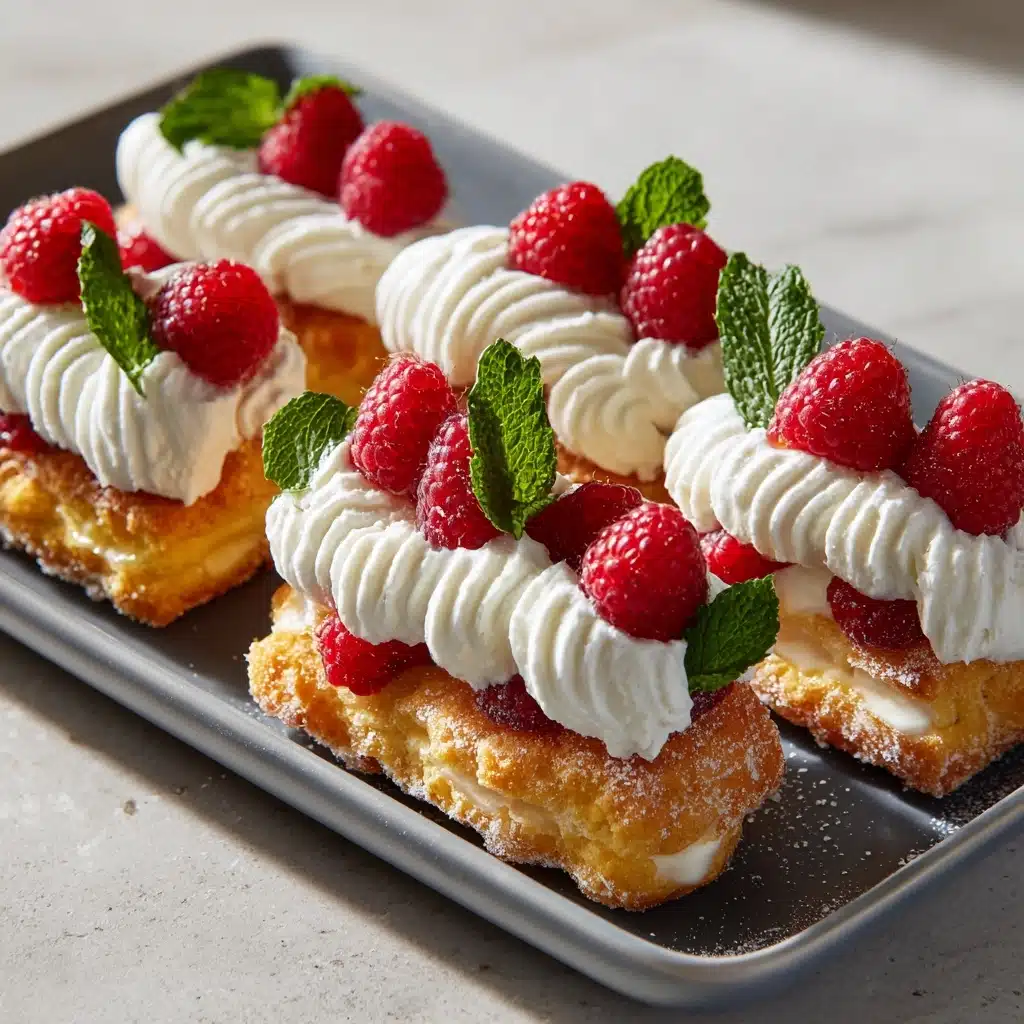
- Heavy cream, powdered sugar, vanilla: Together, they create a luscious whipped cream topping—the perfect match for berries.
- Fresh berries & mint leaves: Offers bursts of tartness and a pop of color for a fresh finish.
- Cheese spread, salted crackers, slices of cheese: For a uniquely savory twist that balances out all the sweetness.
How to Make Kkwabaegi
Step 1: Start the Dough
Begin by combining the lukewarm milk, instant yeast, and a bit of sugar in a large mixing bowl. Give everything a quick mix and let the mixture sit until it’s nice and bubbly—watching for those tiny foamy bubbles signals that your yeast is alive and ready to make the Kkwabaegi dough puff up perfectly!
Step 2: Mix in Egg and Dry Ingredients
Once your yeast is foaming, beat in the egg for a touch of golden richness. Next, sift the bread flour and salt directly into the bowl—this keeps the dough soft and lump-free. Gently start combining everything with a wooden spoon or spatula until you’ve got a shaggy, rough dough.
Step 3: Knead the Dough
Gather that dough into one ball and knead gently, just until it mostly sticks together. Cover the bowl with plastic wrap or a damp towel and let it rest on your kitchen counter for about 15 minutes—this quick nap helps relax the gluten and makes kneading a breeze in the next step.
Step 4: Add the Butter
Now, it’s time for that dreamy butteriness. Either use a stand mixer or your hands—knead in the room temperature butter. At first, the dough will look messy and greasy, but keep going! After a few minutes, the dough will drink up the butter, turning beautifully smooth, elastic, and just a bit shiny. This step is crucial for that classic Kkwabaegi chew.
Step 5: Rising and Proofing
Pop your dough back into the bowl, cover it, and let it rise for about an hour in a warm spot—when it’s doubled in size, it’s ready for magic. Gently press the air out (don’t punch it hard, just a soft pat), then divide into 10 equal pieces and shape each into a round ball.
Step 6: Shaping the Twists
Take one dough ball at a time—press it into a disc, roll it into a long, thin rope, then give it a twist by rolling each end in opposite directions. When you pick it up by both ends, it’ll naturally twist into that signature Kkwabaegi spiral. Pinch the ends so they stay tightly twisted. Repeat with each piece, keeping the rest covered to avoid drying out.
Step 7: Final Proof
Once all the Kkwabaegi are twisted, arrange them on a tray, cover them up, and let them proof in a warm place for another 30 minutes to an hour. They’ll puff up and look deliciously fluffy—now you’re ready for some frying fun!
Step 8: Fry to Golden Perfection
Heat several inches of vegetable oil in a deep pan to a steady 300-325°F. Fry just two donuts at a time, allowing space to flip them easily. Each donut will take about 2 to 3 minutes per side—watch for a rich, golden-brown color. Transfer the fried Kkwabaegi to a rack or a plate lined with paper towels to drain away excess oil.
Step 9: Sugar and Cinnamon Dusting
While the donuts are still warm, roll them gently in a mix of cinnamon and sugar. The sugary coating will stick best when they’re hot, melting slightly into a light crust.
Step 10: Fancy Toppings (Optional)
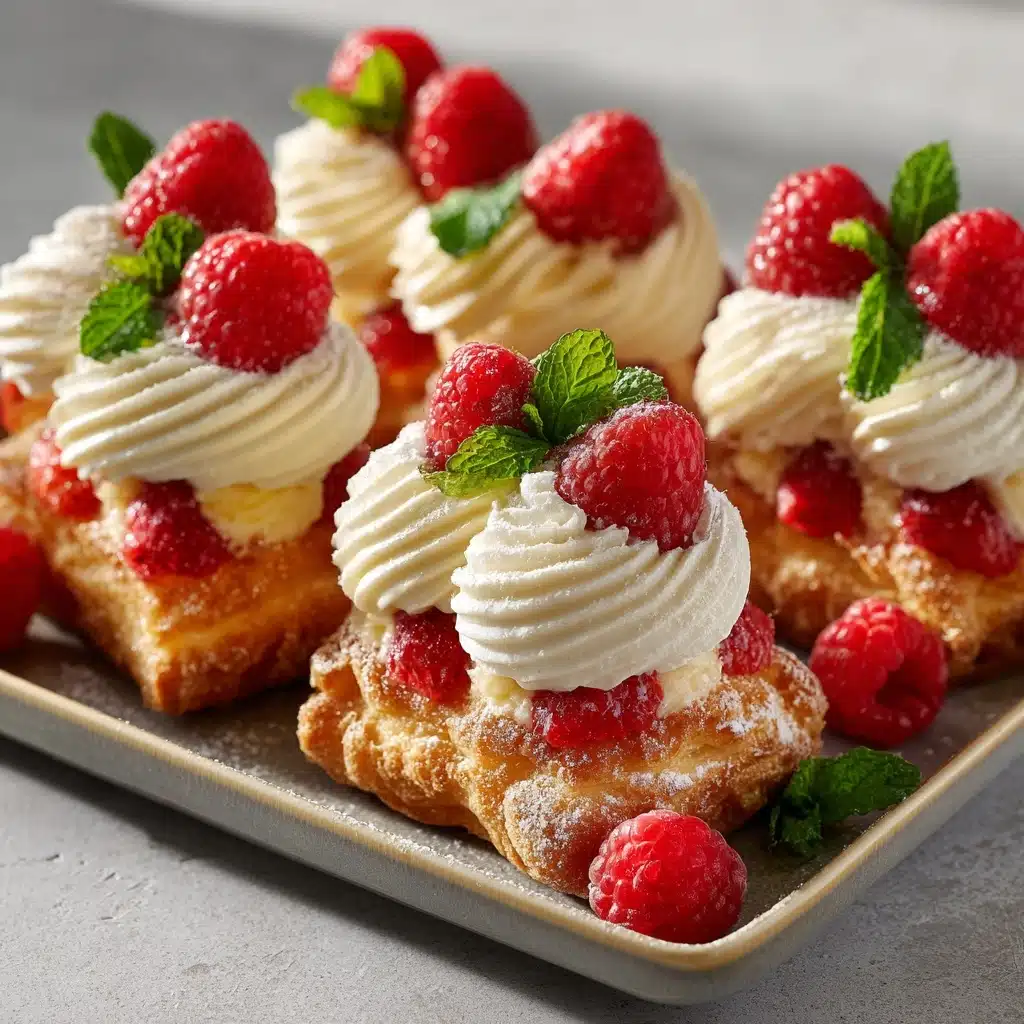
If you want to go beyond tradition, now’s the time! For berries and cream, whip heavy cream, powdered sugar, and a dash of vanilla until stiff. Pipe onto cooled Kkwabaegi, and crown them with berries and mint leaves. For a savory version, pipe cheese spread on top, then sprinkle on crackers and sliced cheese—and if you’re feeling fancy, use a blowtorch to melt the cheese for extra drama.
How to Serve Kkwabaegi
Garnishes
Kkwabaegi needs little more than a good snowing of cinnamon sugar, but a scatter of fresh berries or mint leaves can add a touch of color and freshness. If you’re going with cheese, a few shreds of good-quality cheese or a sprinkle of crushed savory crackers are delightful for contrast.
Side Dishes
Serve warm Kkwabaegi with a glass of cold milk, a robust coffee, or even a fragrant cup of Korean citron tea. For brunch spreads, pair them with fresh fruit, a side of creamy yogurt, or even a little bowl of ricotta—perfect for dipping and sharing.
Creative Ways to Present
Pile up your Kkwabaegi on a big platter for sharing, or nestle them into parchment-lined baskets for a retro bakery feel. For parties, use colorful skewers to stack mini Kkwabaegi in “donut towers,” or arrange next to dipping sauces like berry compote or honeyed cream cheese. These twisted donuts look stunning adorning a dessert board or tucked into a breakfast picnic basket.
Make Ahead and Storage
Storing Leftovers
If you have a few Kkwabaegi left after your feast, pop them into an airtight container once completely cooled. They’ll keep at room temperature for up to two days—though their unique twist and softness are always best on the first day.
Freezing
Kkwabaegi freezes beautifully! Place completely cooled donuts in a single layer in a freezer-safe bag, squeeze out the air, and freeze for up to a month. For best results, freeze without sugar topping and dust them fresh after reheating.
Reheating
To bring back that classic softness, gently warm Kkwabaegi in a 300°F oven for 5-7 minutes. You can also give them a quick zap in the microwave (about 15-20 seconds) for a softer finish. If you froze them, let them thaw at room temperature first before reheating and rolling in sugar.
FAQs
Can I use all-purpose flour instead of bread flour?
Absolutely! While bread flour gives Kkwabaegi their chewy, bakery-style interior, all-purpose flour will also work. The texture may be a little softer and less chewy, but the twisted donuts will still taste wonderful.
Do I have to use a piping bag for the cream and cheese toppings?
No piping bag? No problem! You can simply dollop the whipped cream or cheese spread with a spoon, or use a zip-top bag with a corner snipped off for a quick and easy solution.
What’s the best way to maintain oil temperature while frying?
For crisp, golden Kkwabaegi, try frying in small batches and use a thermometer to keep your oil between 300-325°F. Let the oil come back to temperature between batches to avoid greasy or undercooked donuts.
Can I make the dough in advance?
Yes, you can prepare the dough, let it rise once, shape the twists, and then refrigerate overnight. The next morning, let the donuts come up to room temperature and finish the final proof before frying for fresh morning Kkwabaegi.
Why did my Kkwabaegi lose their twist while frying?
If your twists loosen up or unravel in the oil, they might not have been pinched tightly enough, or the dough may have puffed up a bit too much during the final proof. Just be sure to pinch and seal those ends well and monitor the proofing time for the perfect spiral!
Final Thoughts
Once you’ve tasted homemade Kkwabaegi, with their playful twists and irresistible sweetness, you’ll want to share them with everyone. It’s a recipe that invites both creativity and comfort, perfect for breakfasts, parties, or just treating yourself. Don’t be shy—roll up your sleeves and experience the joy of making (and eating!) Kkwabaegi in your own kitchen!
PrintKkwabaegi Recipe
Delicious and indulgent Korean twisted donuts recipe, also known as Kkwabaegi, featuring fluffy twisted donuts topped with sweet cinnamon sugar, creamy berries with fresh mint, and savory cheese with crackers. A delightful treat for any time of day!
- Prep Time: 30 minutes
- Cook Time: 20 minutes
- Total Time: 2 hours
- Yield: 10–12 twisted donuts 1x
- Category: Dessert
- Method: Frying, Baking
- Cuisine: Korean
- Diet: Vegetarian
Ingredients
Dough:
- ½ cup lukewarm milk (115 grams)
- 1 packet instant dry yeast (7 grams)
- ¼ cup plain sugar (50 grams)
- 1 large egg, room temperature
- ¼ teaspoon fine salt
- 2 ¼ cups bread flour (300 grams)
- ¼ cup butter, room temperature (50 grams)
Toppings:
- Vegetable oil, for frying
- ½ cup plain sugar (100 grams)
- 1 teaspoon ground cinnamon
- 1 cup heavy cream (100 grams)
- 2 tablespoons powdered sugar (20 grams)
- ½ teaspoon vanilla extract or vanilla bean paste
- 1 cup fresh berries
- Mint leaves, optional
- 1 cup cheese spread
- 10–12 salted crackers, small pieces
- 2–3 slices cheese (Emmental or Gryuere)
Instructions
- Mix Yeast Mixture: Combine lukewarm milk, yeast, and sugar in a large bowl. Let sit until foamy.
- Add Ingredients: Mix in egg, then sift in flour and salt. Knead into a dough.
- Knead Dough: Incorporate butter into dough until smooth and elastic.
- Proof Dough: Let dough rise for 1 hour until doubled.
- Shape Donuts: Divide dough, shape into coils, twist, and proof again.
- Fry Donuts: Fry twisted donuts until golden brown.
- Coat with Sugar: Roll fried donuts in a sugar-cinnamon mixture.
- Berries & Cream Topping: Whip cream, pipe onto donuts, and top with berries and mint.
- Cheese & Crackers Topping: Pipe cheese spread on donuts, add crackers and cheese pieces. Optionally, melt cheese with a blowtorch.
Notes
- Ensure oil is at the right temperature for frying.
- Twist donuts firmly to hold shape during frying.
- Top donuts just before serving for best taste and appearance.
Nutrition
- Serving Size: 1 twisted donut
- Calories: Approx. 250
- Sugar: Approx. 15g
- Sodium: Approx. 150mg
- Fat: Approx. 12g
- Saturated Fat: Approx. 6g
- Unsaturated Fat: Approx. 5g
- Trans Fat: 0g
- Carbohydrates: Approx. 30g
- Fiber: Approx. 1g
- Protein: Approx. 4g
- Cholesterol: Approx. 45mg
Keywords: Korean twisted donuts, Kkwabaegi recipe, sweet and savory donuts, Korean dessert, fried donuts, twisted dough recipe


