
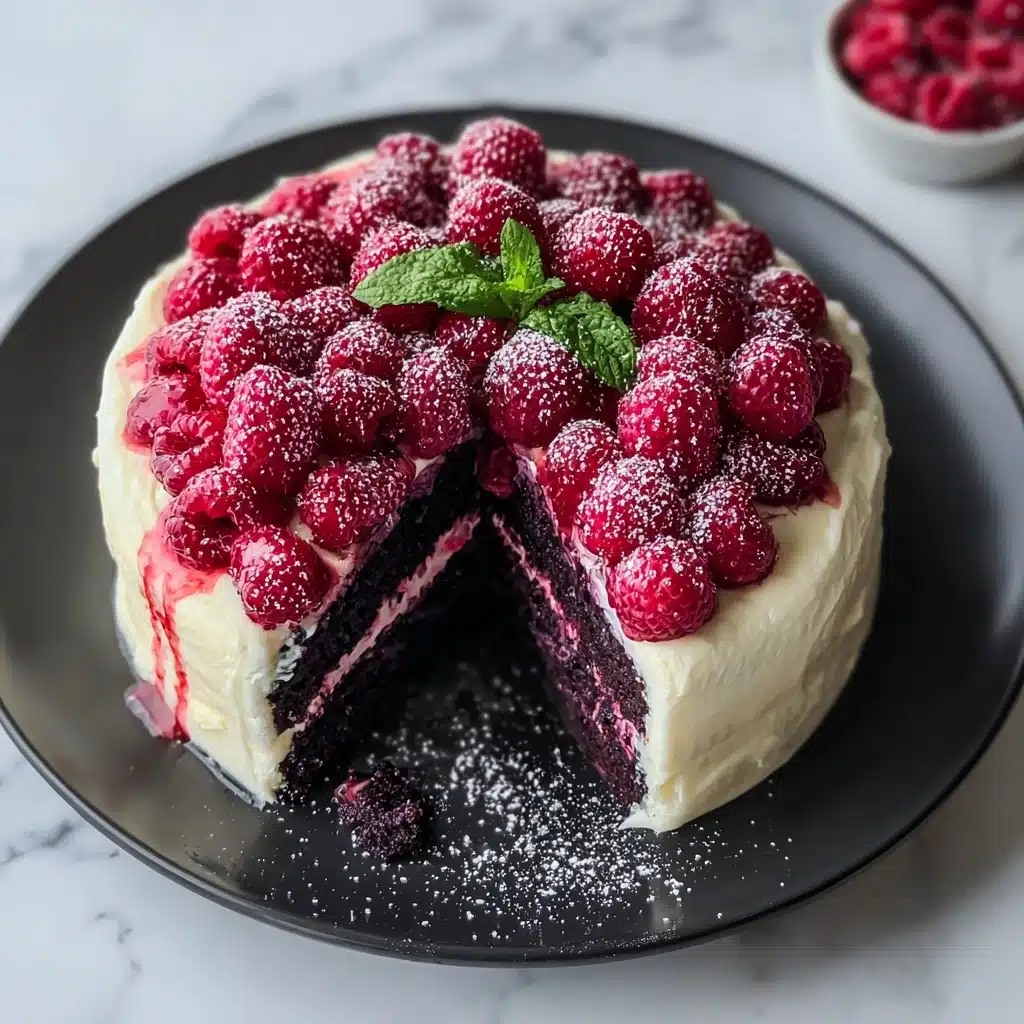
White Chocolate Raspberry Dream Cake Recipe
Imagine a dessert so dreamy, you’ll be counting down the minutes until the next occasion just to make it again! The White Chocolate Raspberry Dream Cake is exactly that kind of showstopper—it’s tender, rich, bursting with juicy raspberries, and swirling with a lusciously smooth white chocolate flavor in every bite. With its soft layers, cloud-like whipped cream, and jewel-bright fruit, this is the cake you bake when you really want to impress, but also just want to indulge in something unforgettable at home.
Ingredients You’ll Need
The magic of the White Chocolate Raspberry Dream Cake lies in gathering just the right ingredients, each bringing its own special something to the party—whether it’s flavor, structure, or dazzling color. With these classic staples and a handful of vibrant add-ins, you’re well on your way to dessert bliss!
- All-purpose flour: This forms the sturdy, yet tender backbone of your cake layers.
- Baking powder: Adds lift, guaranteeing tall, fluffy cake layers.
- Baking soda: Partners with the sour cream for perfect crumb and texture.
- Salt: Just a touch needed to balance out the sweetness and accentuate flavors.
- Unsalted butter: Brings richness and helps create that melt-in-your-mouth texture.
- Granulated sugar: Keeps the cake sweet and aids in that lovely, golden crust.
- Large eggs: Essential for binding the cake and adding depth.
- Vanilla extract: Lends warmth and rounds out the flavor profile beautifully.
- Whole milk: Keeps everything moist and tender—never dry!
- Sour cream: Secret weapon for extra-soft, velvety crumb.
- White chocolate, melted: Infuses every bite with creamy chocolate notes.
- Fresh raspberries: Juicy pops of tartness and gorgeous color throughout.
- Raspberry jam: Intensifies the raspberry flavor and helps create a lush filling.
- Heavy whipping cream: Whips up into that decadent, cloud-like frosting.
- Powdered sugar: Sweetens the whipped cream just right, ensuring stability.
- Extra vanilla extract: Adds aromatic sweetness to the whipped topping.
How to Make White Chocolate Raspberry Dream Cake
Step 1: Prep Your Pans & Oven
To ensure your White Chocolate Raspberry Dream Cake comes out perfectly, start by preheating your oven to 350°F (175°C). Grease and flour two 9-inch round cake pans, taking extra care to get into every corner. This little bit of prep helps those beautiful cake layers release without a hitch!
Step 2: Whisk the Dry Ingredients
In a medium bowl, whisk together the all-purpose flour, baking powder, baking soda, and salt. This not only blends everything evenly but makes sure you don’t get any unexpected lumps of leavening hiding in your cake.
Step 3: Cream Butter and Sugar
In a large mixing bowl, use an electric mixer to cream together the unsalted butter and granulated sugar until the mixture is impossibly light and fluffy—about 3 to 4 minutes. This step is vital for creating airy, irresistible cake layers.
Step 4: Add Eggs and Vanilla
Beat in the eggs, one at a time, giving each a chance to fully incorporate before the next. This keeps the batter from splitting and makes the cake extra smooth. Finish this step with a splash of vanilla for that lovely, fragrant base.
Step 5: Combine Wet Ingredients
In another bowl, stir together the whole milk and sour cream until creamy and well blended. This combo is a powerhouse for ultimate moisture in your cake.
Step 6: Mix it All Together
With your mixer on low, alternately add the dry ingredients and the milk-sour cream mixture to the butter mixture—starting and ending with the dry mix. This method keeps the batter delicate, not heavy.
Step 7: Fold in Melted White Chocolate
Gently fold the melted white chocolate into the batter with a spatula, just until it disappears. This step infuses the cake with a decadent white chocolate flavor that’s so characteristic of a true White Chocolate Raspberry Dream Cake.
Step 8: Bake the Layers
Divide your batter evenly between the prepared pans and smooth the tops beautifully. Slide them into the oven and bake for 25–30 minutes—a toothpick should come out clean with just a few moist crumbs. Cool the cakes in their pans for 10 minutes, then turn out onto wire racks and let them cool completely.
Step 9: Prepare the Raspberry Filling
While the cakes cool, mash the fresh raspberries with a fork until they’re mostly broken down, then stir in that luscious raspberry jam. The result is an intensely fruity, slightly tart filling that truly makes this cake memorable.
Step 10: Whip Up the Cream
In a chilled bowl, whip together the heavy cream, powdered sugar, and vanilla extract until stiff peaks form. You want a whipped cream that holds its own between cake layers and over the top, fluffy yet sturdy.
Step 11: Assemble the Dream Cake
Once your cakes are fully cool, place one layer on a serving platter. Spread a generous layer of raspberry filling over it, then top with a thick blanket of whipped cream. Place the second cake layer gently on top and cover the whole cake with the remaining whipped cream. Now it’s truly a White Chocolate Raspberry Dream Cake!
Step 12: Garnish and Chill
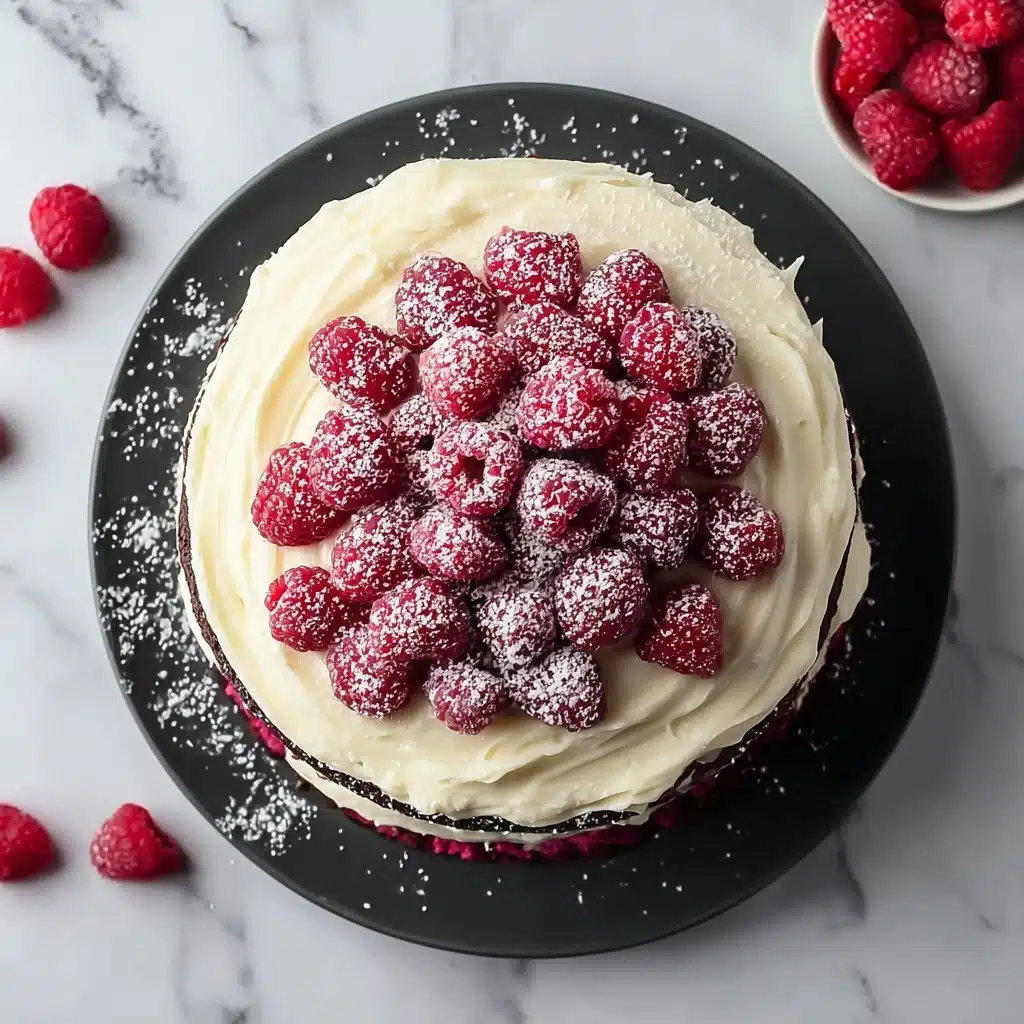
Arrange fresh raspberries in a beautiful pattern on the top of your cake. Chill for at least an hour to let everything settle and flavors mingle. Now you’re ready to slice and enjoy.
How to Serve White Chocolate Raspberry Dream Cake
Garnishes
This is your moment to have fun and add a flourish! Pile on more fresh raspberries, sprinkle over a few white chocolate curls, or even dust lightly with powdered sugar for a snowy finish. A few mint leaves can add a pop of color that’s as fresh as it looks. Each little extra turns your cake into a picture-perfect dessert worthy of any celebration.
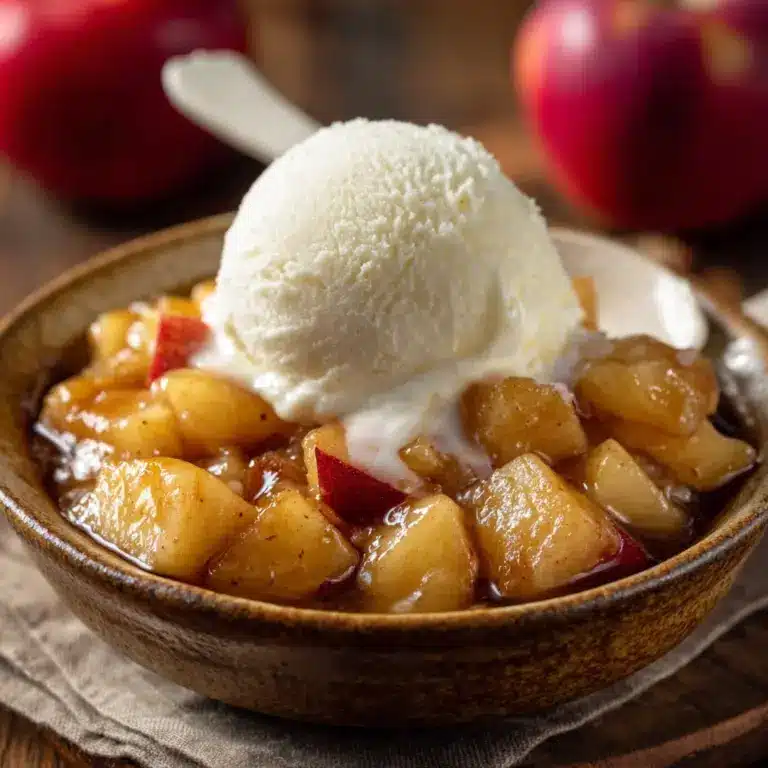
Side Dishes
Since the White Chocolate Raspberry Dream Cake is the star of the show, go for sides that complement rather than compete. A small scoop of vanilla bean ice cream, a simple fruit salad, or a cup of aromatic coffee all make lovely partners. If you’re feeling indulgent, serve with a glass of sparkling wine for that extra festive touch.
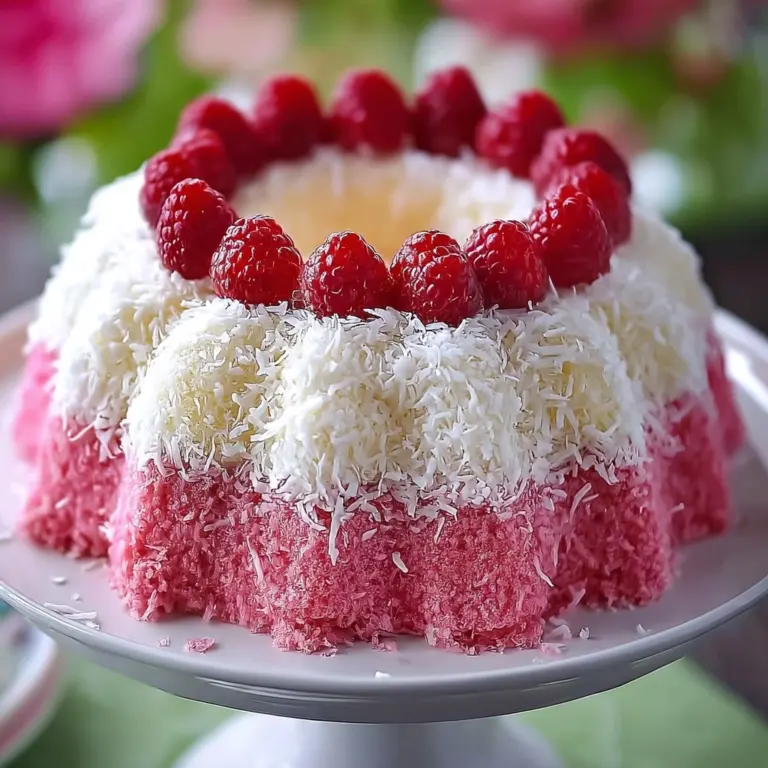
Creative Ways to Present
Think outside the cake box! Try slicing the cake into petite squares for a dainty dessert tray, or serve individual slices with a drizzle of raspberry coulis across the plate. For special occasions, build a mini-version in mason jars—just as dreamy, and perfect for picnics or party favors.
Make Ahead and Storage
Storing Leftovers
Once assembled, cover the cake tightly with plastic wrap or store in an airtight container in the fridge. It will keep fresh and fabulous for up to three days—just make sure it’s well-sealed so the whipped cream stays luscious and the cake doesn’t dry out.
Freezing
If you want to get ahead, freeze the cake layers (before filling and frosting) wrapped snugly in plastic wrap and then foil. They’ll stay perfect for up to two months. Simply thaw at room temperature, then proceed with assembly when you’re ready for your White Chocolate Raspberry Dream Cake fix.
Reheating
This cake is best enjoyed cold or at cool room temperature. If you like, take it out of the fridge 20–30 minutes before serving so those flavors can shine. Avoid microwaving, which can melt the whipped cream and change the texture.
FAQs
Can I use frozen raspberries instead of fresh?
Absolutely! If using frozen raspberries, thaw and drain them first to avoid extra moisture in the filling. The flavor will still burst through beautifully in your White Chocolate Raspberry Dream Cake.
What’s the secret to ultra-fluffy whipped cream?
For the highest, fluffiest whipped cream, start with chilled heavy cream and a cold bowl—metal works best. Beat on high until stiff peaks form, being careful not to overwhip or it could turn grainy.
Can I make the cake in advance?
Yes! Bake the cake layers and prepare the filling and whipped cream up to a day ahead. Store the components separately, then assemble your White Chocolate Raspberry Dream Cake the day you plan to serve.
How do I prevent the cake from sticking to the pans?
Be generous with both greasing and flouring your pans, especially along the sides and bottom. You can also line the bases with parchment paper circles for extra security.
Can I add extra white chocolate?
Go for it! Sprinkle chopped white chocolate between layers or on top for visual flair and added decadence. Just don’t add extra to the batter itself, as too much can weigh it down.
Final Thoughts
If you’re ready to wow both taste buds and guests, this White Chocolate Raspberry Dream Cake is your new essential recipe. Whether for a birthday, brunch, or just because you fancy something decadent, this cake never disappoints. I hope you’ll give it a try soon—it might just become your very own dreamy dessert tradition!
PrintWhite Chocolate Raspberry Dream Cake Recipe

Indulge in the dreamy combination of white chocolate and fresh raspberries with this delightful White Chocolate Raspberry Dream Cake. A perfect balance of sweetness and tartness in every bite!
- Prep Time: 30 minutes
- Cook Time: 30 minutes
- Total Time: 1 hour
- Yield: 1 9-inch cake (12–16 slices) 1x
- Category: Dessert
- Method: Baking
- Cuisine: American
- Diet: Vegetarian
Ingredients
Cake:
- 2 1/2 cups all-purpose flour
- 2 teaspoons baking powder
- 1/2 teaspoon baking soda
- 1/2 teaspoon salt
- 1 cup unsalted butter
- 1 1/2 cups granulated sugar
- 4 large eggs
- 1 teaspoon vanilla extract
- 1 cup whole milk
- 1/2 cup sour cream
- 6 ounces white chocolate, melted
Raspberry Filling:
- 1 1/2 cups fresh raspberries
- 1/2 cup raspberry jam
Whipped Cream:
- 2 cups heavy whipping cream
- 2 tablespoons powdered sugar
- 1 teaspoon vanilla extract
Instructions
- Preheat your oven to 350°F (175°C).
- Grease and flour two 9-inch round cake pans.
- Whisk together the dry ingredients in a bowl.
- Cream butter and sugar until fluffy.
- Add eggs one at a time, then vanilla.
- Combine milk and sour cream.
- Alternate adding dry ingredients and milk mixture to butter.
- Beat until just combined.
- Fold in melted white chocolate.
- Divide batter into pans and bake.
- Cool cakes on wire rack.
- Make raspberry filling.
- Prepare whipped cream.
- Assemble cake layers with filling and cream.
- Garnish with raspberries.
- Chill before serving.
- Serve and enjoy!
Notes
- You can add more raspberries between the layers for extra fruitiness.
- Ensure the melted white chocolate is cooled slightly before folding into the batter.
- For a richer flavor, use high-quality white chocolate.
Nutrition
- Serving Size: 1 slice (assuming 1/12 of the cake)
- Calories: 380
- Sugar: 24g
- Sodium: 220mg
- Fat: 24g
- Saturated Fat: 14g
- Unsaturated Fat: 8g
- Trans Fat: 0g
- Carbohydrates: 37g
- Fiber: 1g
- Protein: 5g
- Cholesterol: 105mg
Keywords: White Chocolate Raspberry Cake, Raspberry Dream Cake, Dessert Recipe, White Chocolate Cake


